Non-contact Surface Cleanliness Measurement
Surface contamination can cause significant quality problems in components. It can also be hard to detect. Cleanospector makes the process quick and easy, improving product quality and longevity.
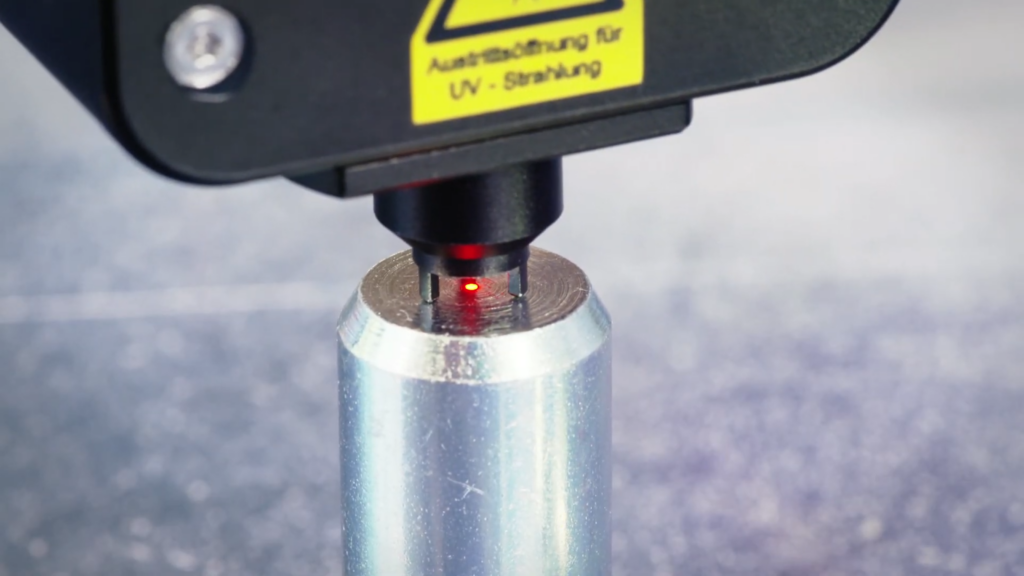
High Speed
CleanoSpector is quick to implement and takes measurements in seconds. This makes integrating it into your quality process seamless, ensuring you see results as soon as you start using it.
Non-Contact Operation
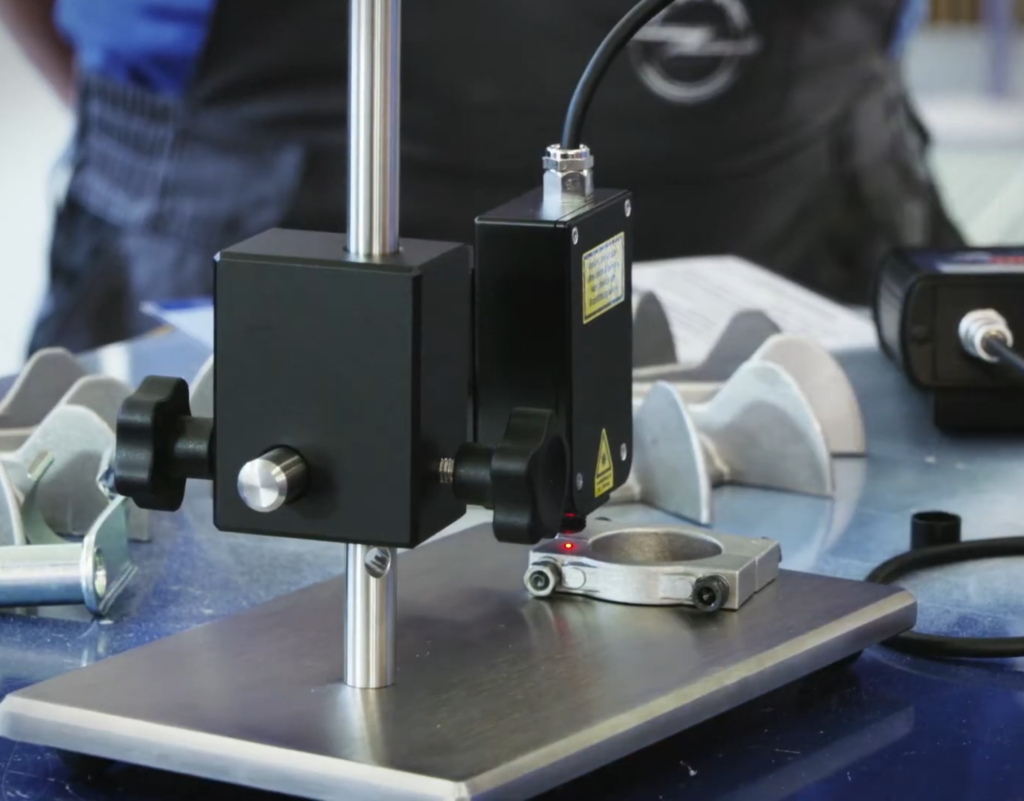
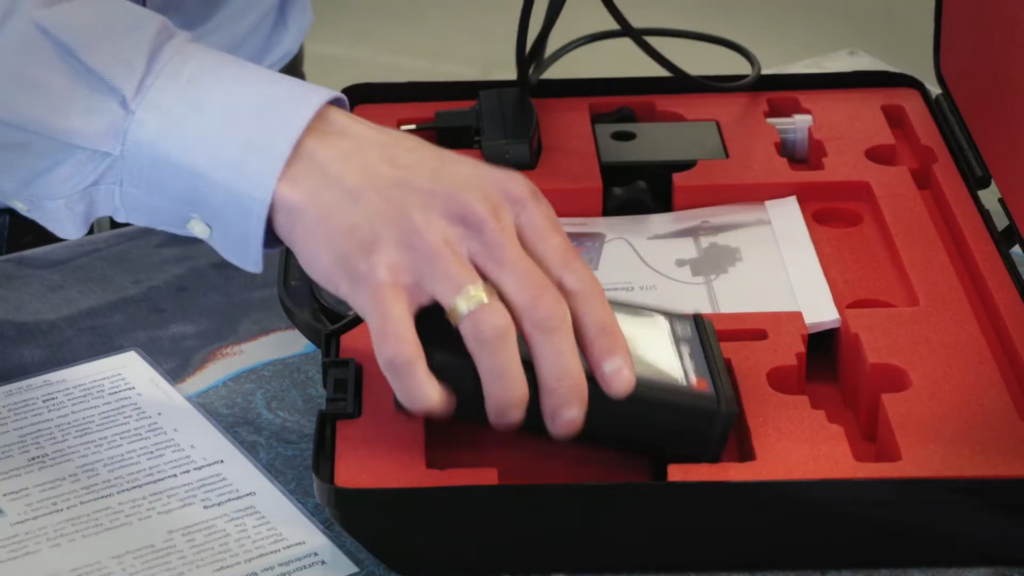
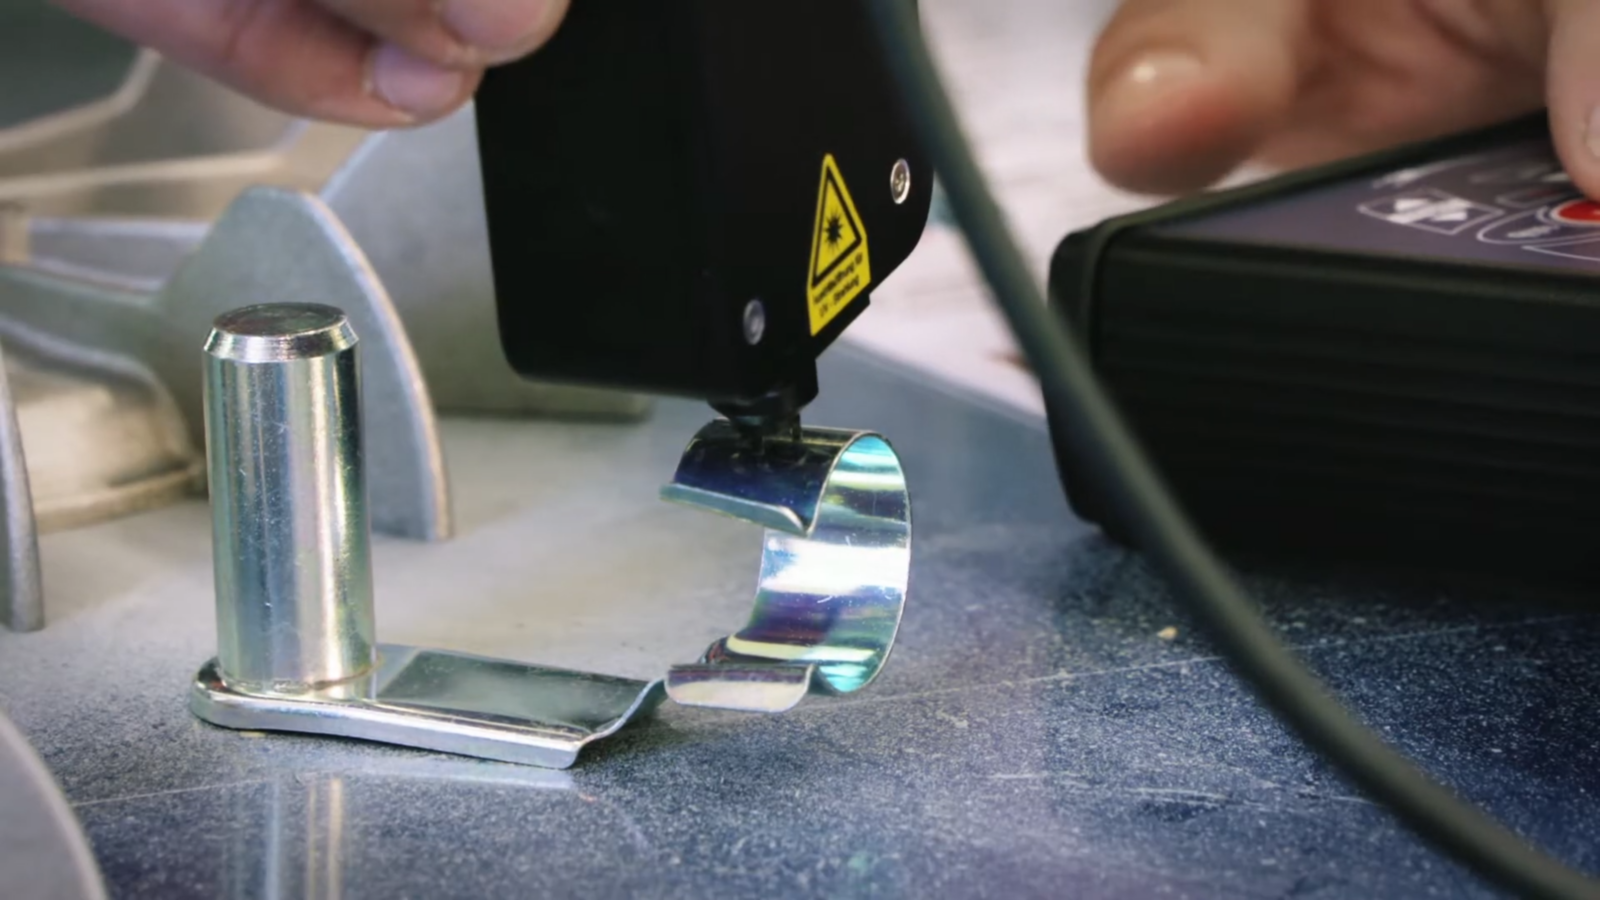
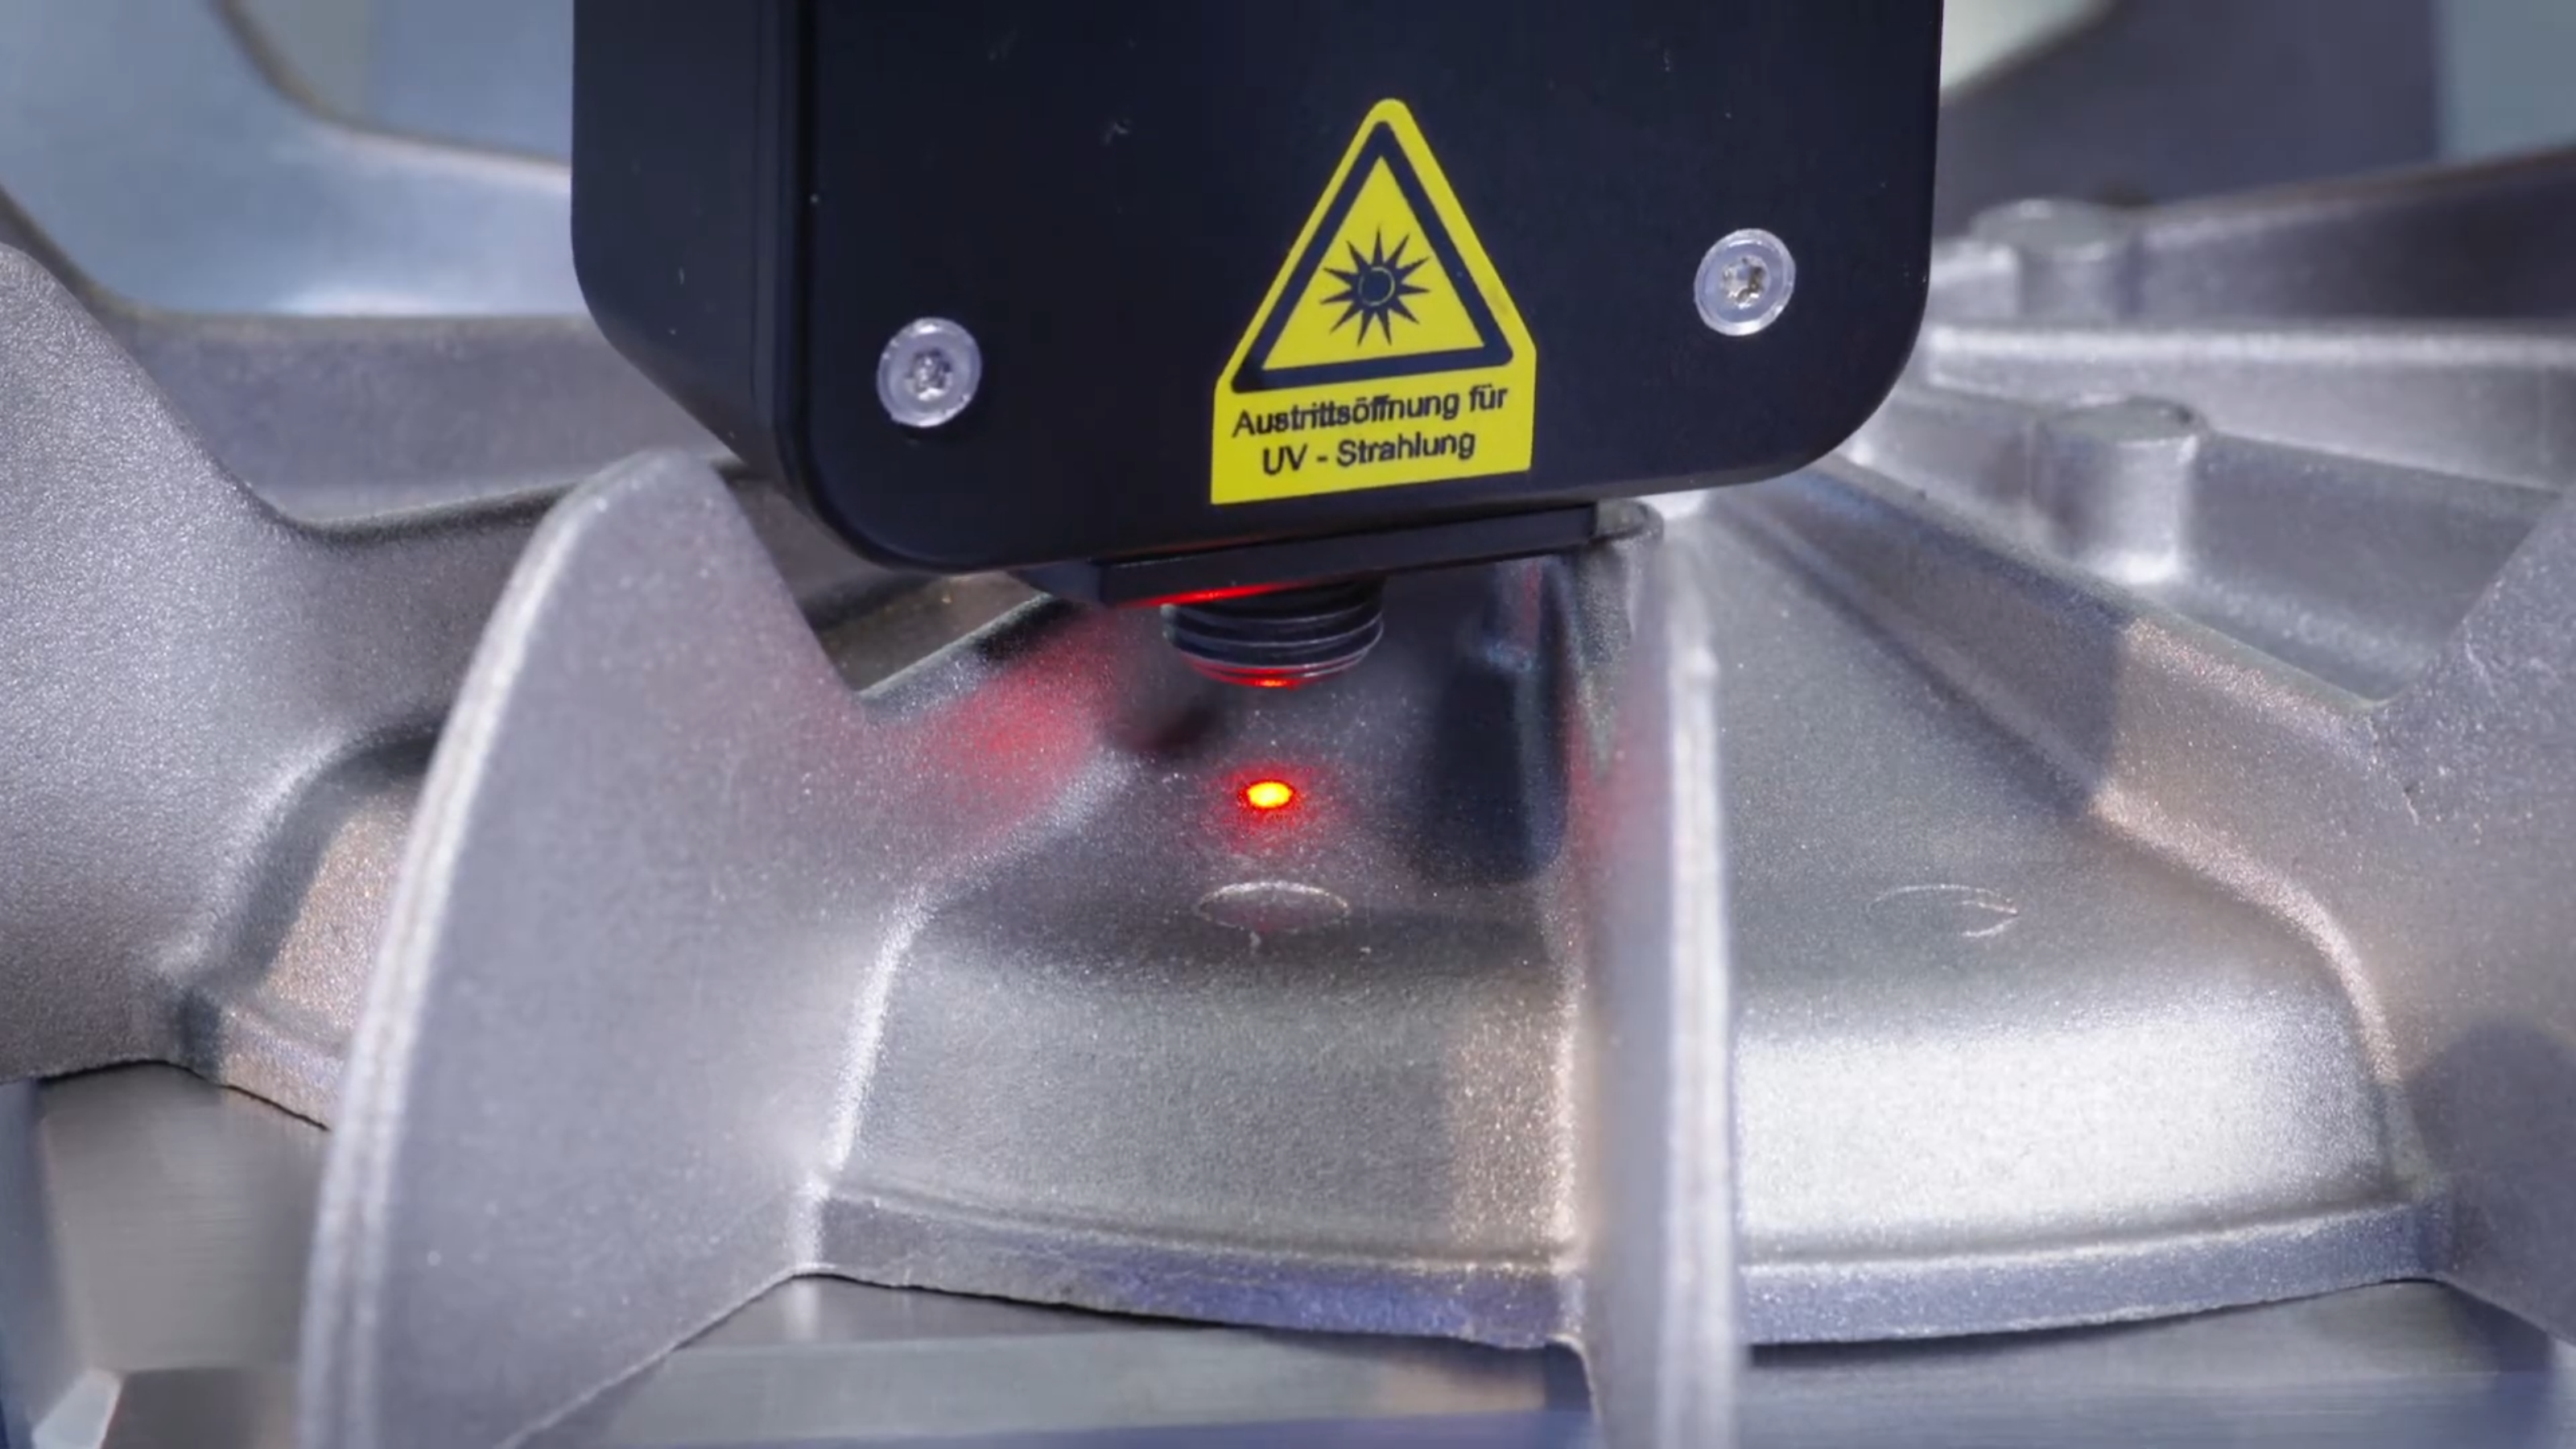
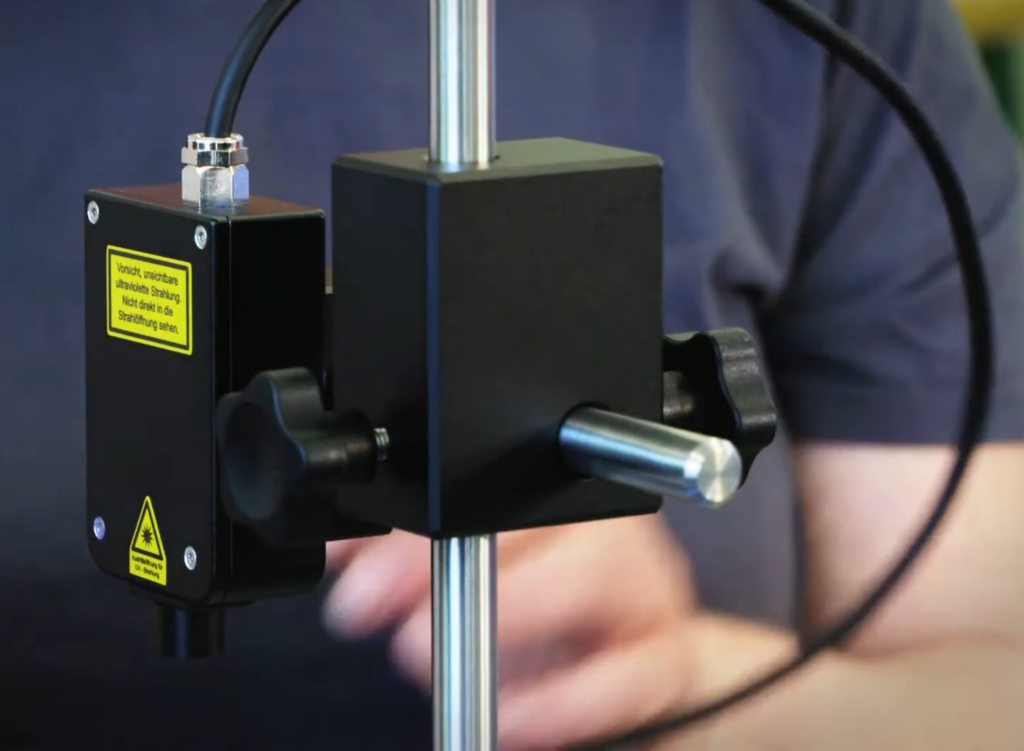
CleanoSpector uses optical sensing technology to collect measurements. That means that it is able to operate with no contact to the part it is measuring. By using the supplied adjustable stand, parts can easily and repeatably be loaded under the sensor to create an easy inspection process that any operator can conduct.
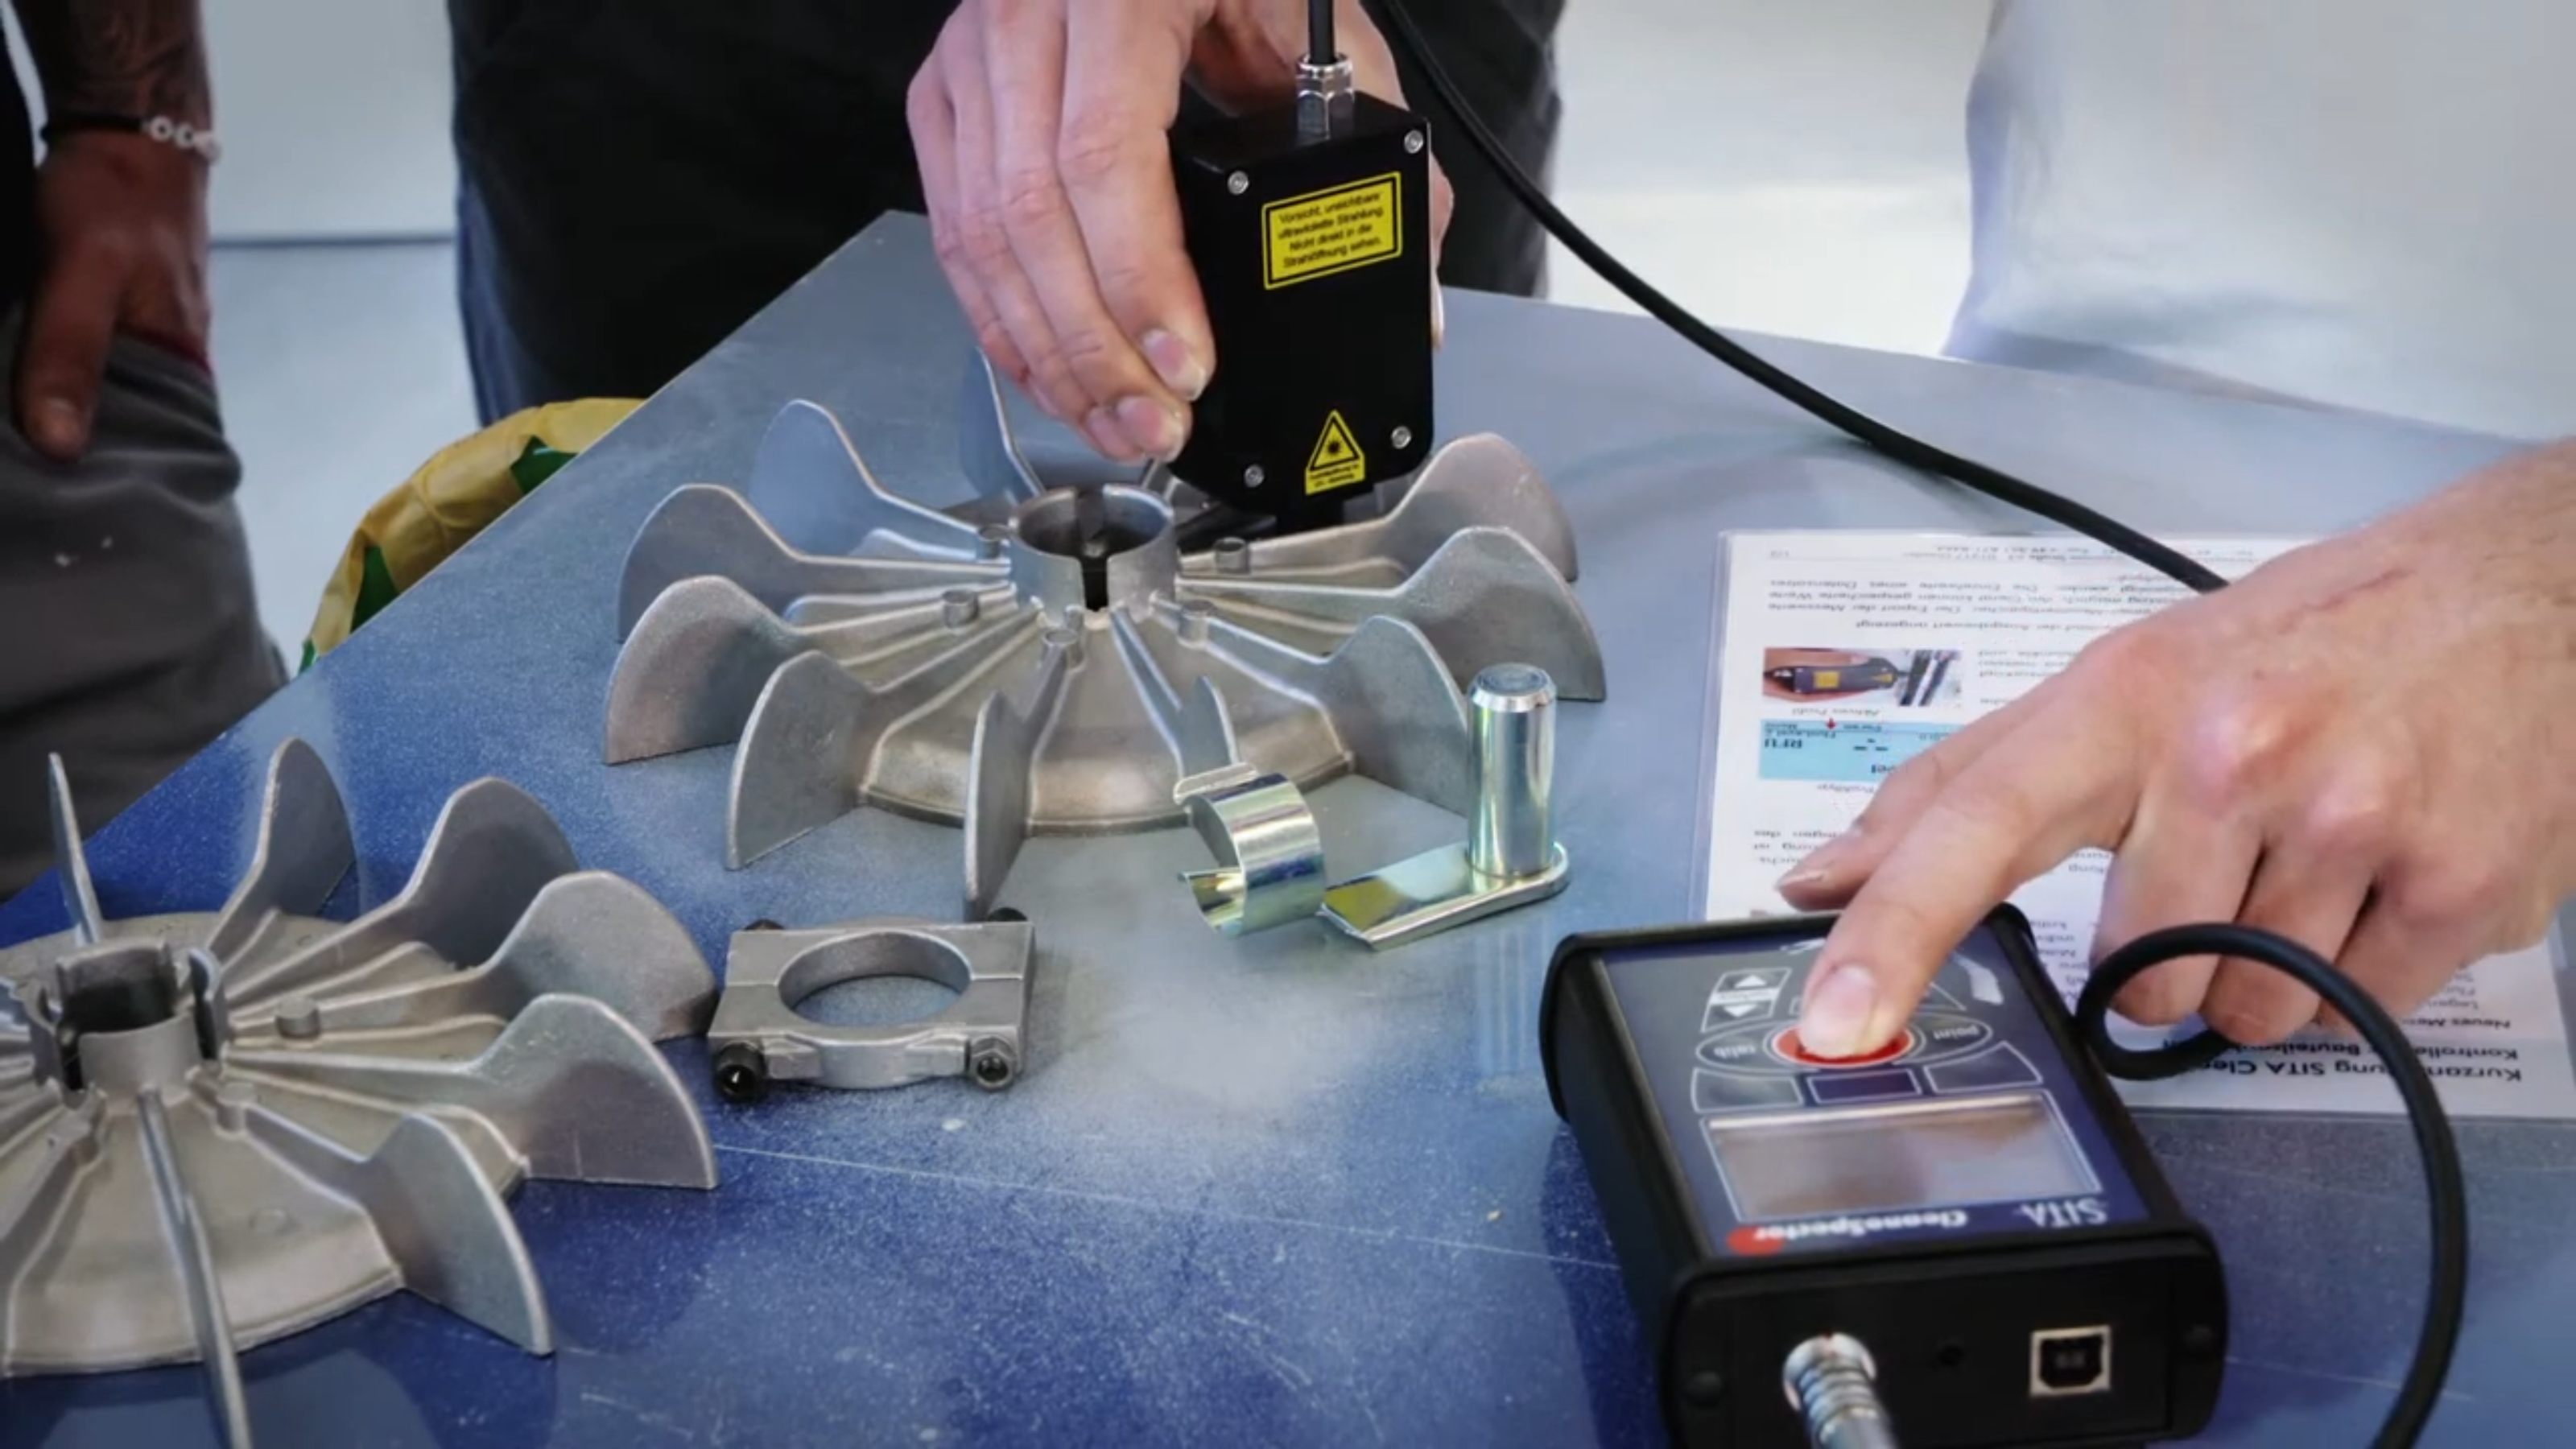
In cases where parts are larger, the sensor can be removed from the magnetic mount easily, and used with a standoff to enable measurement of virtually any part design.
Make Your Data Objective
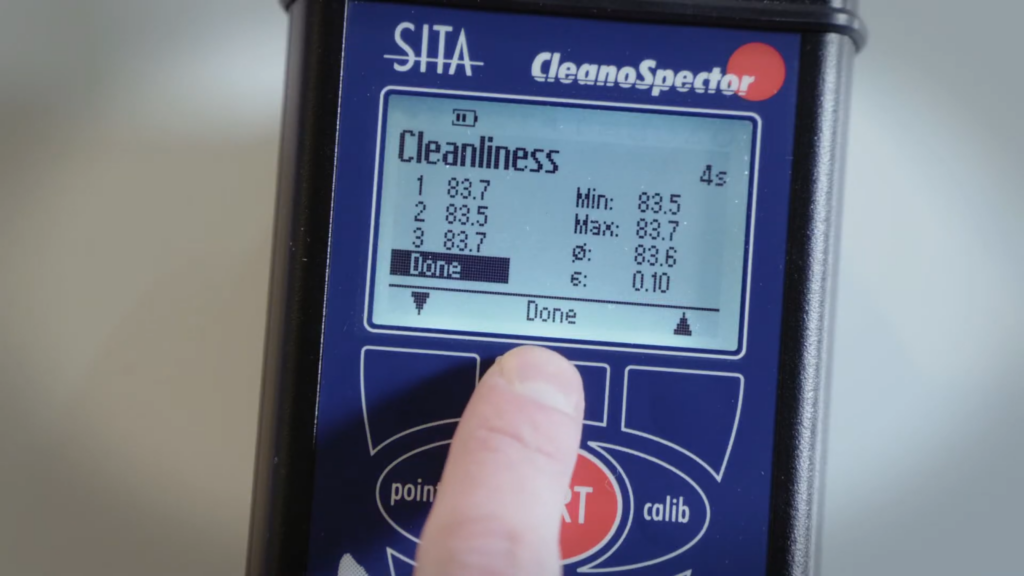
An easy to read LCD display shows results as they are collected, whilst they are also stored onboard, enabling download of results via USB at a later stage to the optional SITA ProcessLog software, allowing full traceability of data.
Gone are the days of guessing cleaning bath conditions, or using trial and error. CleanoSpector provides a reliable method of measurement that is consistent across operators.
Flexibility for a wide range of uses
CleanoSpector is designed with flexibility in mind. The non-contact measurement concept is supplemented by a range of standoffs that allow multiple surfaces to be measured in handheld mode, whilst the magnetic stand is adjustable in multiple orientations.
A wide range of accessories is also available, ensuring that whatever the design of the part you need to measure, the device can be adapted to perform the task.
The optional SITA ProcessLog software helps record and report on data collected by the unit, and enables the download of results from the unit to be permanently stored for traceability.
Typical Applications
CleanoSpector's flexibility means that it is suited to a wide range of applications. If you need to check a part for surface contamination, it is an ideal system for the task. Some of the most common applications CleanoSpector is used for include:
- Ensuring parts are clean prior to painting to prevent premature paint loss
- Inspecting parts after cleaning processes have been conducted
- Checking cleanliness of surfaces prior to welding, reducing weld splatter
- Ensuring sufficient protective coatings have been applied to machined components
- Checking surfaces for cleanliness that could impact electrical conductivity
- Ensuring parts used in vacuum, pneumatic, hydraulic or medical applications are sufficiently clean
- Checking that protective and adhesive coatings have sufficient thickness on a part
Operating Principle
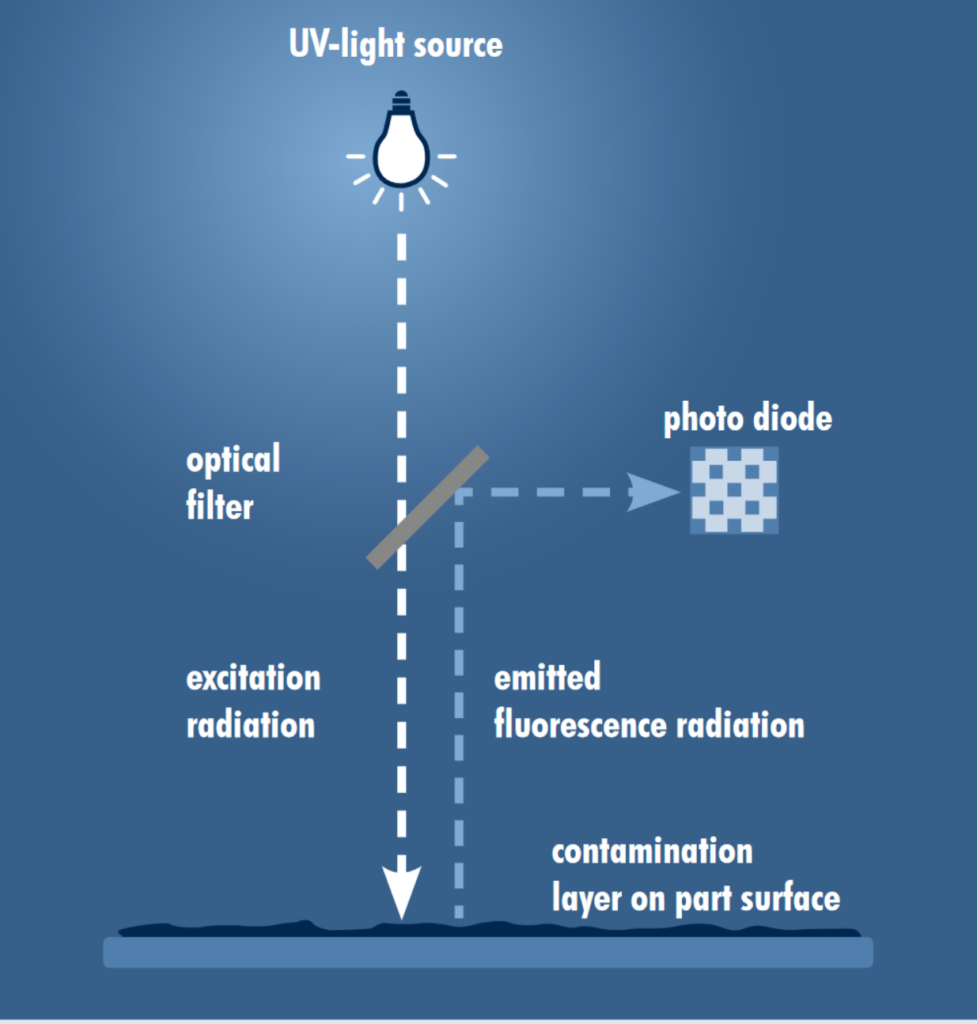
CleanoSpector uses optical sensing technology to determine part cleanliness. Filmic contaminants fluoresce when exposed to UV light.
The device takes advantage of this quality by exposing the surface of a part to a controlled level of UV light. This is then reflected back to a sensor close to the light source. By measuring the level of UV light returned, the contamination level is reported as an RFU value (Relative Fluorescence Unit). The higher the value that is returned, the greater the contamination level.
Specifications
| Fluorescence intensity | |
| Measuring range | 0-2,000 RFU (Relative Fluorescence Unit) |
| Max. measuring deviation | 0.5 % of measuring range |
| Resolution | 0.1 RFU |
| Sensor optics | |
| Excitation | 365 nm, max. 150 mW |
| Detection* | 460 nm |
| Measuring point* | D=1 mm |
| Measuring distance* | 4.7 mm (0.2") |
| * standard values | |
| Cleanliness | |
| Measuring range | 0-100 % |
| Resolution | 0.1 % |
| Layer thickness | |
| Measuring range | user-defined |
| Power supply | |
| Li-Ion-battery | 3.6 V/1,950 mAh, min. 8 h operating hours |
| Power adapter / USB | 100-240 V / 5 V |
| Power consumption | 2.5 W max. |
| Interface, memory, dimension, weight | |
| USB-interface | Data transfer |
| Display | LCD, illuminated |
| Measuring profiles | 254 |
| Memory | 8,000 measuring values per profile |
| Dimensions (HxWxD) | Hand-held device: 129x82x48 mm (5x3.2x1.9") Sensor head: 95x50x30 mm (3.7x2x1.2") |
| Weight (device) | 530g (18.5oz) |
