Automated Non-contact Surface Cleanliness Measurement
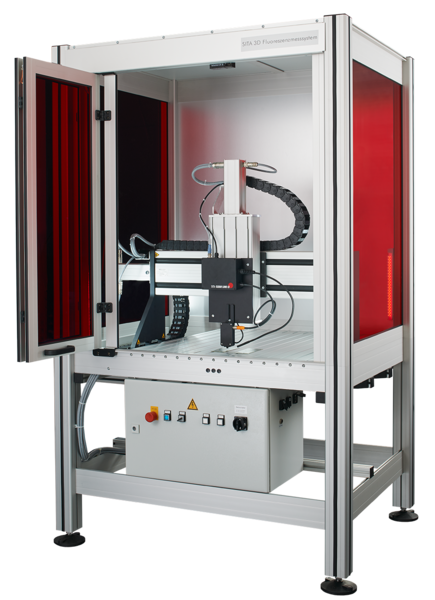
FluoScan 3D offers an automated approach to cleanliness inspection, utilizing advanced fluorescence sensor technology. Designed for the direct measurement of organic contaminants on various surfaces, this system ensures the highest quality standards in manufacturing processes.
High Speed Surface Scanning
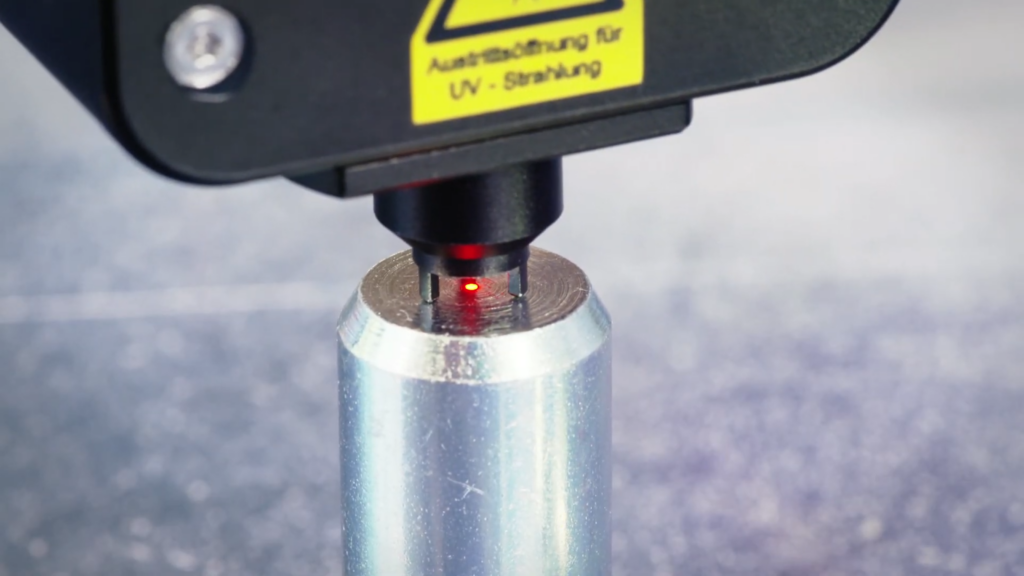
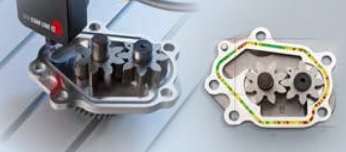
Detect residual contamination on different parts within a very short time with total surface scanning showing the condition of all areas of a part.
Automated Inspection
Quickly and efficiently scan three-dimensional parts' surfaces for contamination.
Robust Design
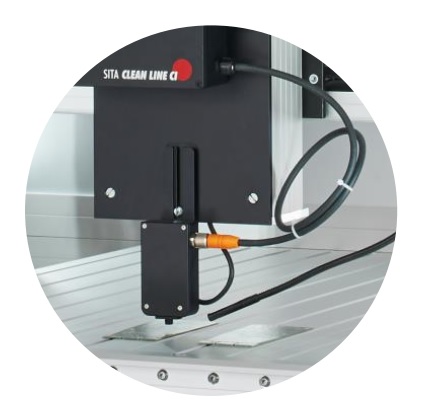
Ensures reproducible measuring results, making it flexible for both process and laboratory applications.
Advanced Software Suite
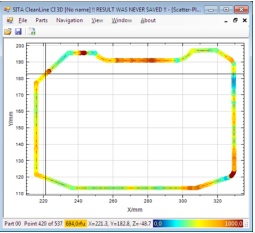
Comes with comprehensive software for creating individual measuring sequences, visualizing and evaluating measurement data, and executing measuring sequences for automated data evaluation.
Typical Applications
- Die Cast Aluminium Inspection: Ensure the removal of release agents before bonding processes.
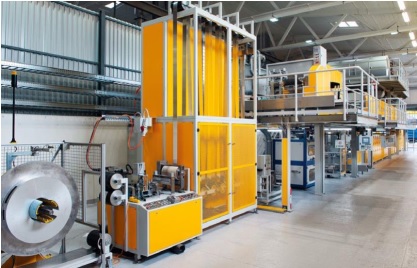
- Printed Circuit Boards: Verify the cleanliness of pads to meet high-quality requirements for bonding and soldering processes.
Operating Principle
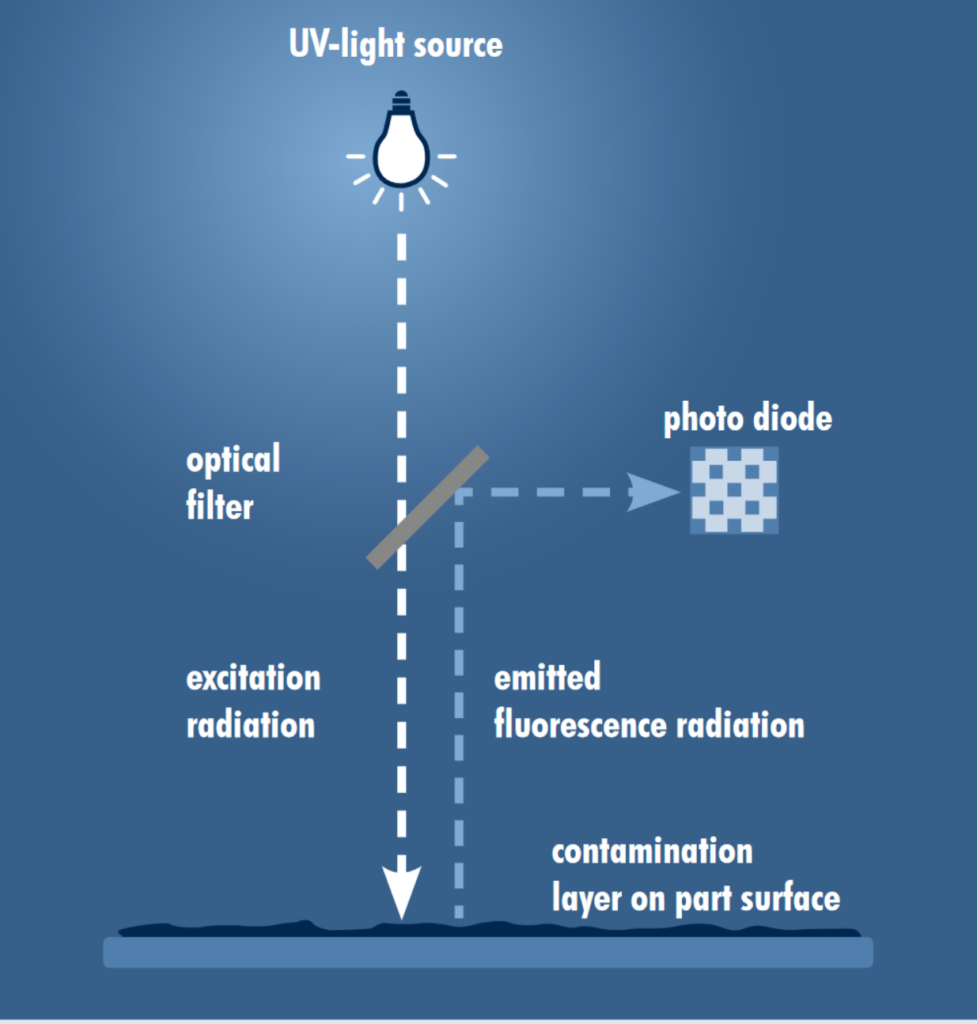
CleanoSpector uses optical sensing technology to determine part cleanliness. Filmic contaminants fluoresce when exposed to UV light.
The device takes advantage of this quality by exposing the surface of a part to a controlled level of UV light. This is then reflected back to a sensor close to the light source. By measuring the level of UV light returned, the contamination level is reported as an RFU value (Relative Fluorescence Unit). The higher the value that is returned, the greater the contamination level.
Specifications
- Fluorescence Intensity: Measuring range of (0...2,000) RFU with a max. measuring deviation of 0.5% of the measuring range.
- Positioning Unit:
- Table surface: 850 mm x 750 mm (33.5 in x 29.5 in)
- Traversing range (X-Y plane): 475 mm x 475 mm (18.7 in x 18.7 in)
- Traversing speed: up to 120 mm/s (4.7 in/s)
- Positioning accuracy: < 0.1mm (< 0.004 in)
- Stroke (standard): 75 mm (2.95 in) with optional lengths available, e.g., 150mm (5.9 in)
- Sensor:
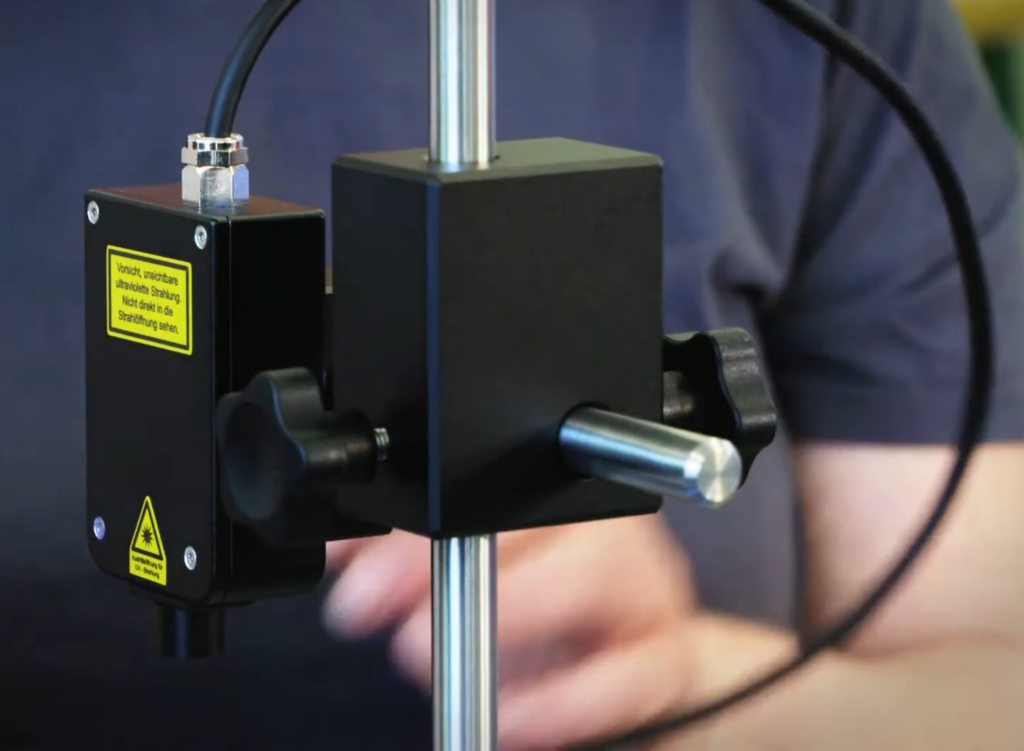
- Excitation diode: 365 nm with a max. output of 150 mW
- Detector: 460 nm
- Measuring distance (Standard optics): 4.7 mm (0.185 in)
- Diameter measuring point (Standard optics): 1 mm (0.039 in)
- Ambient Conditions:
- Acceptable surrounding temperature: (-20...60) °C (-4...140) °F for storage and (10...40) °C (50...104) °F for operation
- Relative humidity: < 70%
- General Data:
- Housing: Aluminium frame
- Dimensions (WxHxD): 1.22 m x 1.15 m x 2.00 m (48 in x 45.3 in x 78.7 in)
- Weight: approx. 390 kg (approx. 860 lbs)


