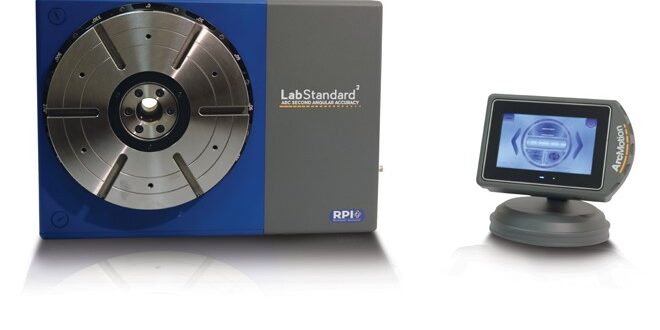
Sub Arc Second Precision, Shop Floor Strength
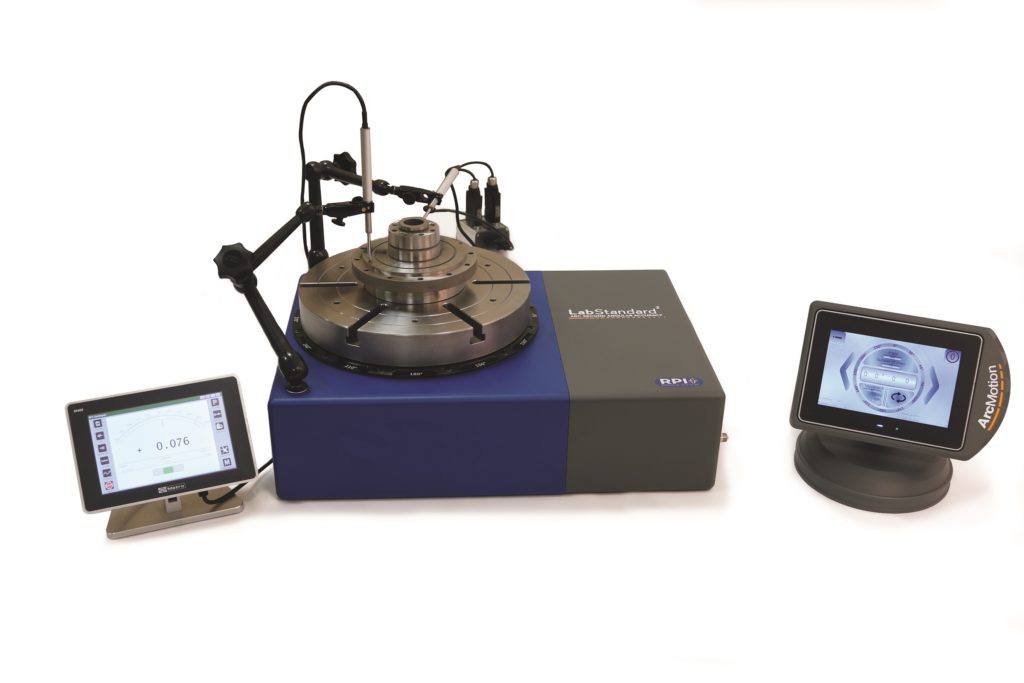
LabStandard is a high precision positioning system for sub arc second angular calibration and circular geometry inspection.
LabStandard offers incredible accuracy and superb robustness suitable for both laboratory and shop floor applications.
LabStandard's ease of use and flexible design enables it to reduce inspection and testing times whilst increasing accuracy and performance.
Multiple orientations for great flexibility
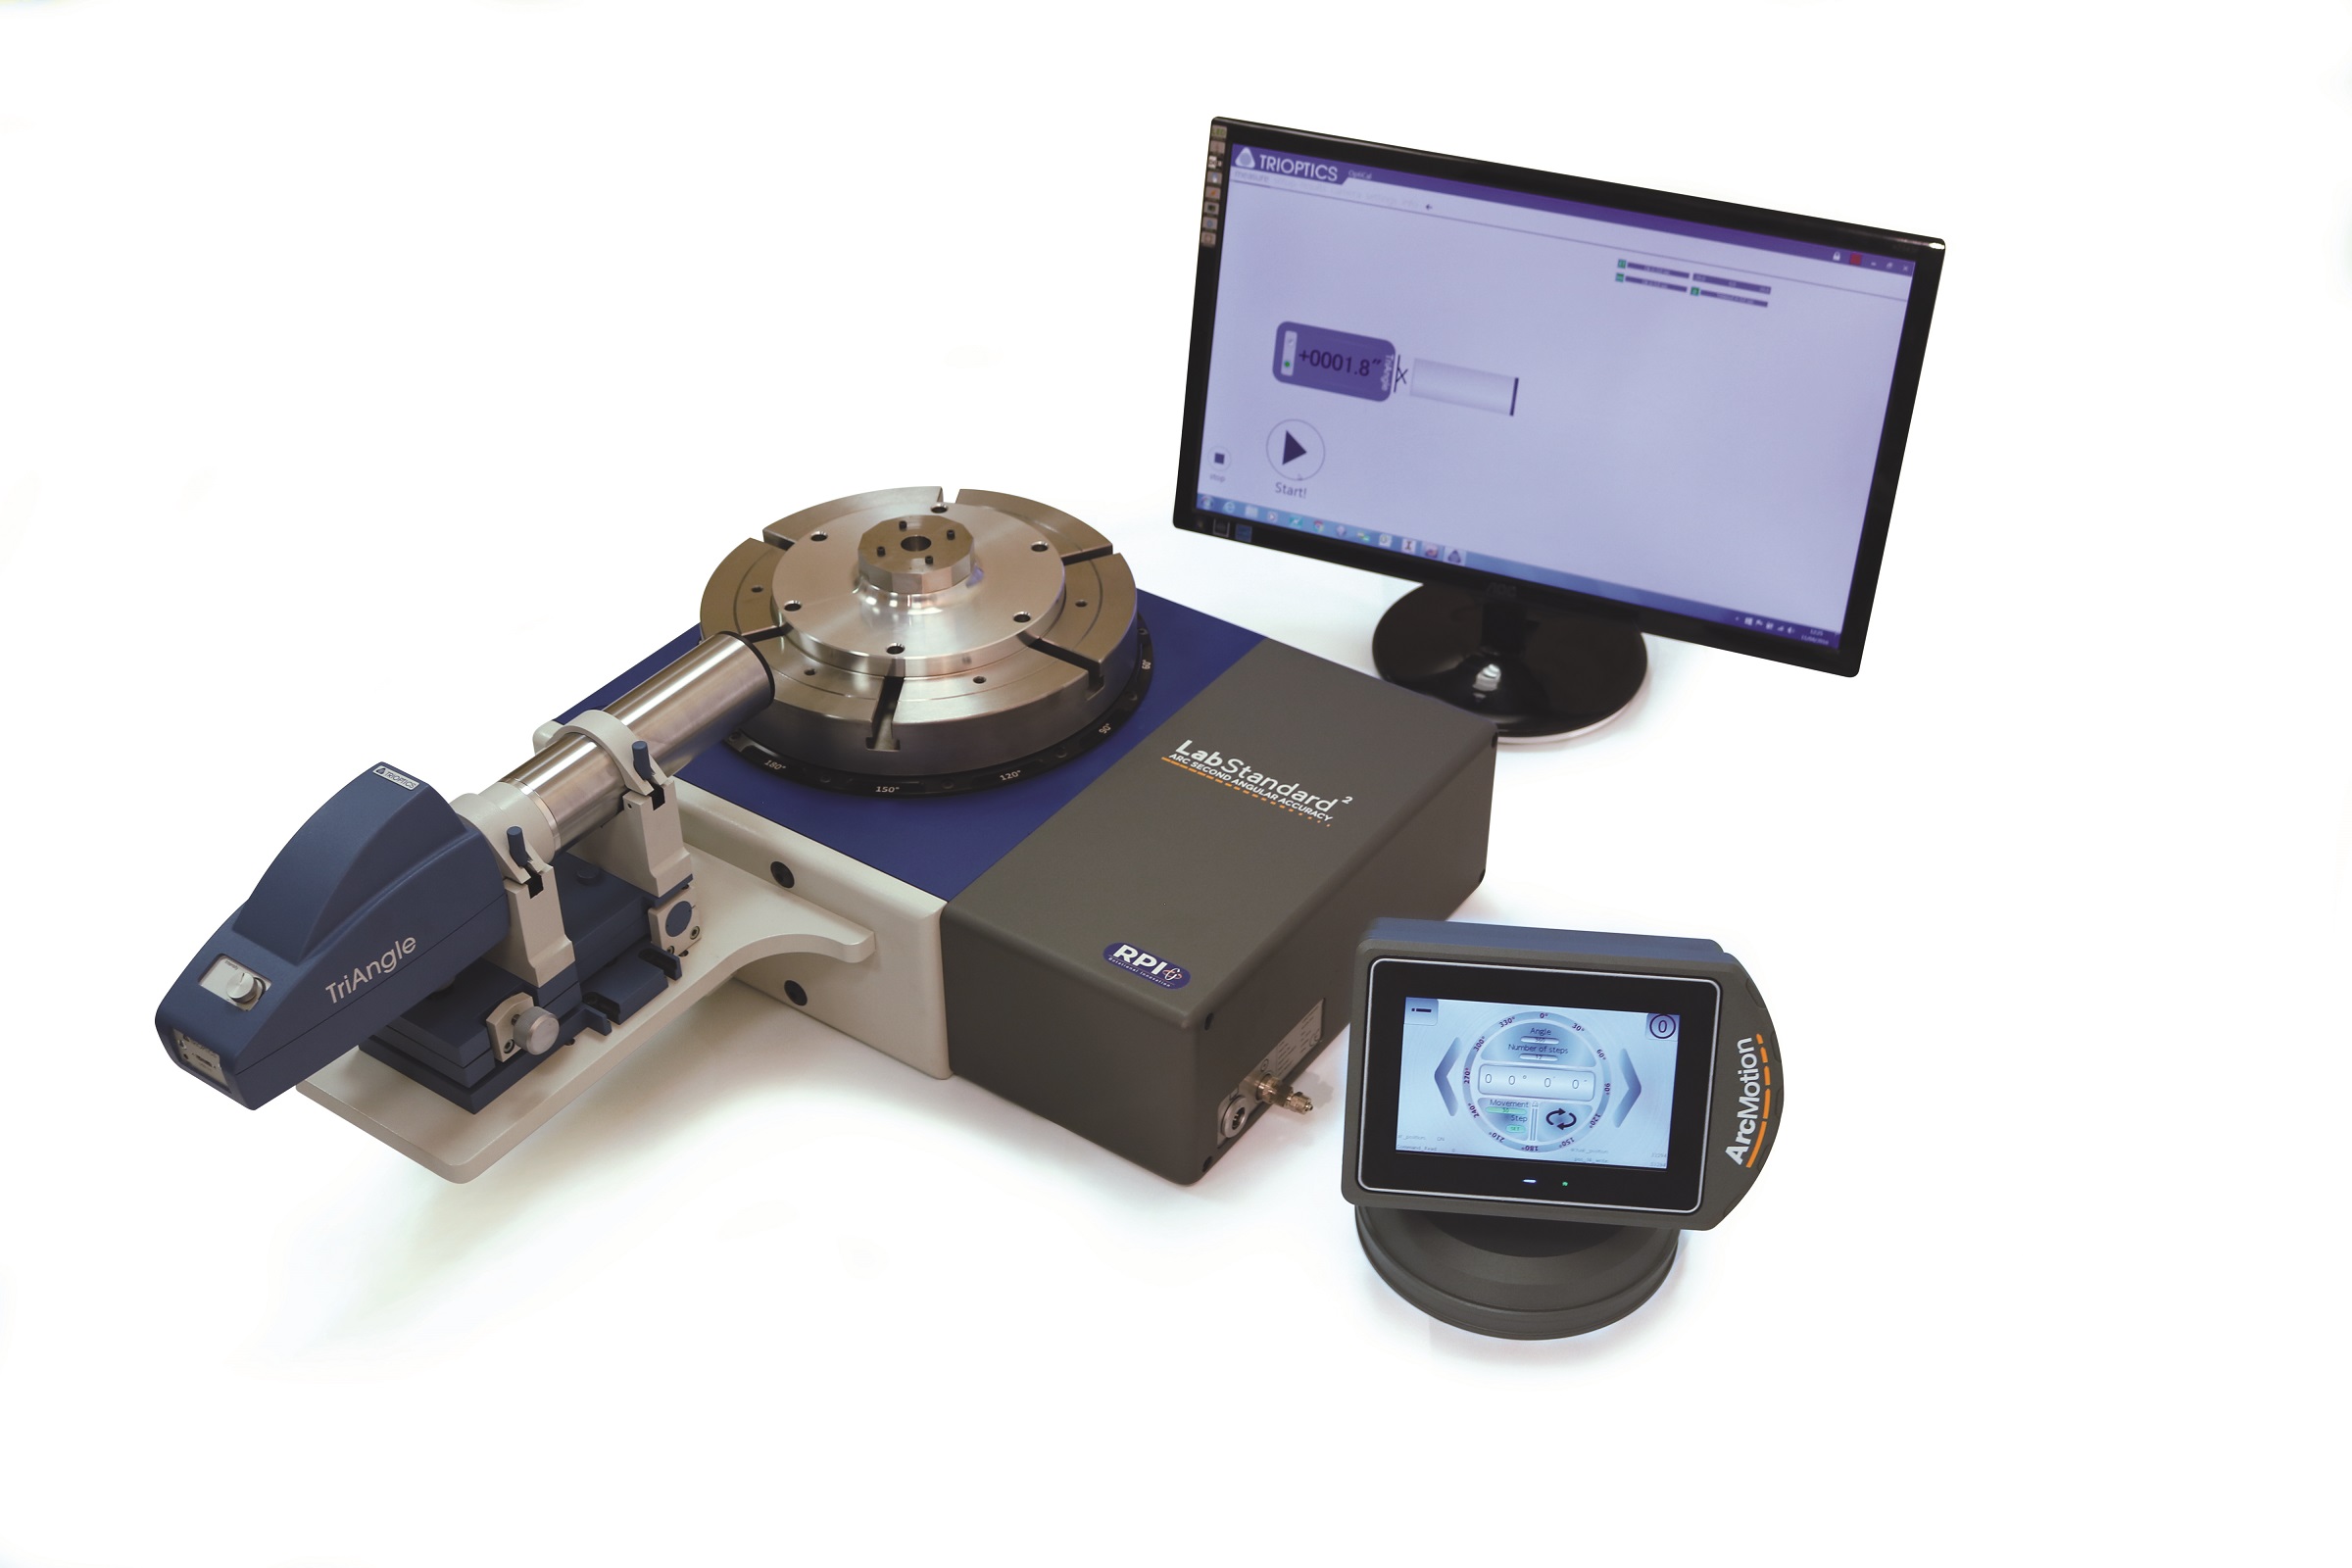
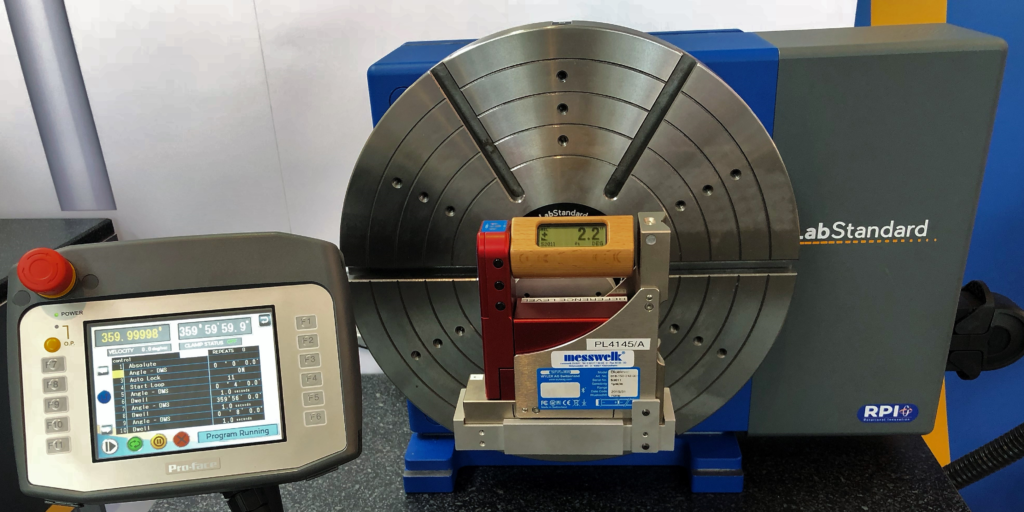
The innovative design of LabStandard allows it to be positioned for use in either vertical or horizontal positions.
All configutations include this feature, making it quick and easy to use the unit for a variety of different applications.
Easy to use
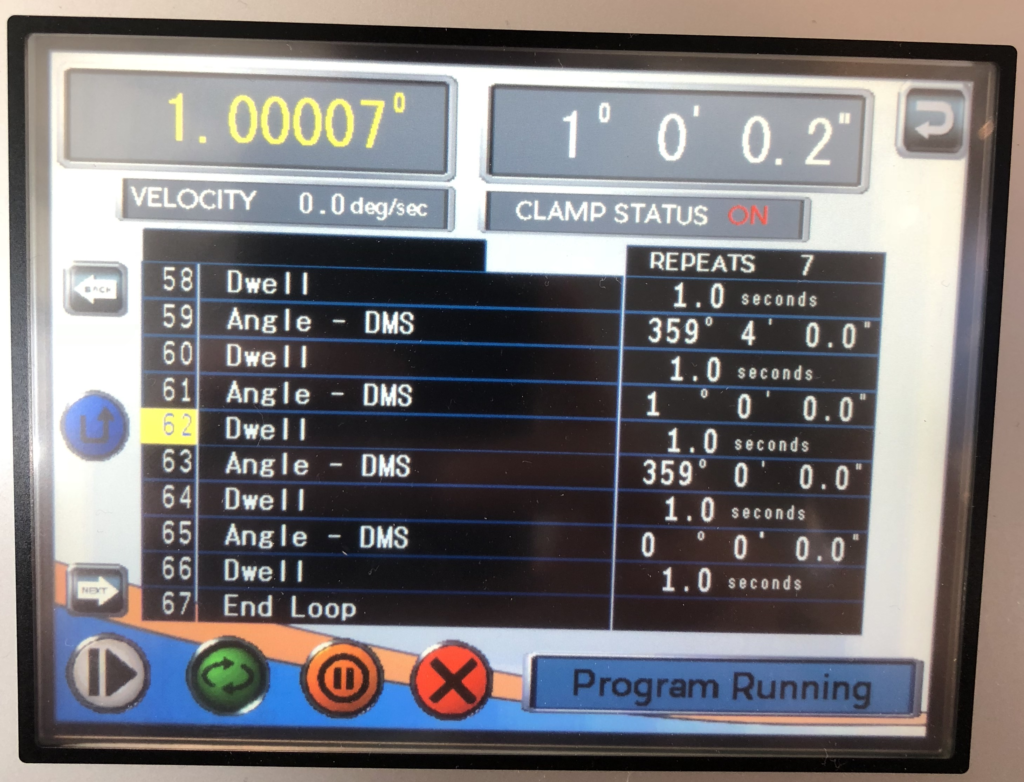
The innovative ArcMotion control unit supplied with LabStandard makes it easy to use and operate, taking only seconds to learn.
The easy to use interface also dramatically reduces positioning errors often associated with manual positioning devices.
Supreme Accuracy
LabStandard is unsurpassed when it comes to accuracy. With a range of options available, LabStandard can be specified with angular positioning accuracy as good as 1 arcsecond (0.0003 deg) and angular repeatability as good as +/-0.2 acrseconds (0.000006 deg).
Multiple configuration options
LabStandard is designed with you in mind. That means you can choose from a wide range of options to tailor its design to your exact requirements, including:
- Table top size options that include 250mm, 300mm and 400mm
- Flexible tooling options that include HSK, Lang, Schunk and Gewefa
- Clamping and pneumatic clamping options
- Axia control unit, allowing third party control and integration
- Multiple accuracy options
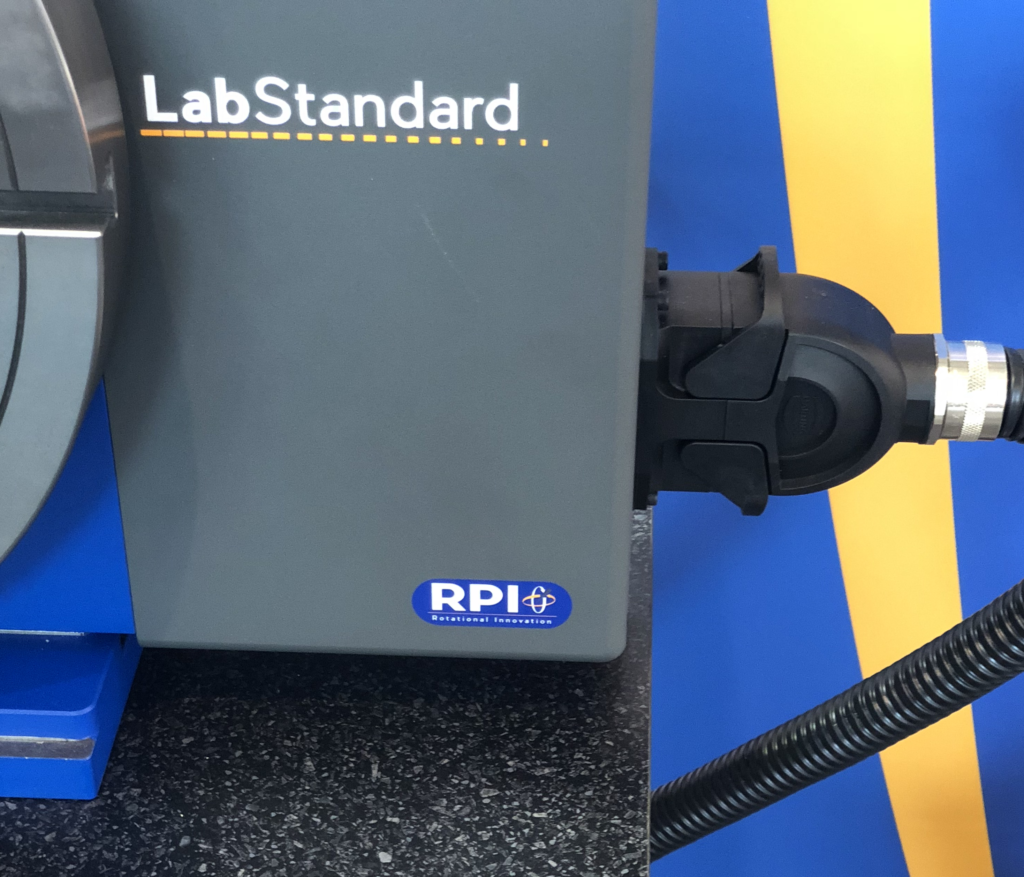
Robust IP42 design
LabStandard is designed with durability in mind. That's why it's IP42 rating is just as suited to shop floor applications as it is to the lab environment.
Typical Applications
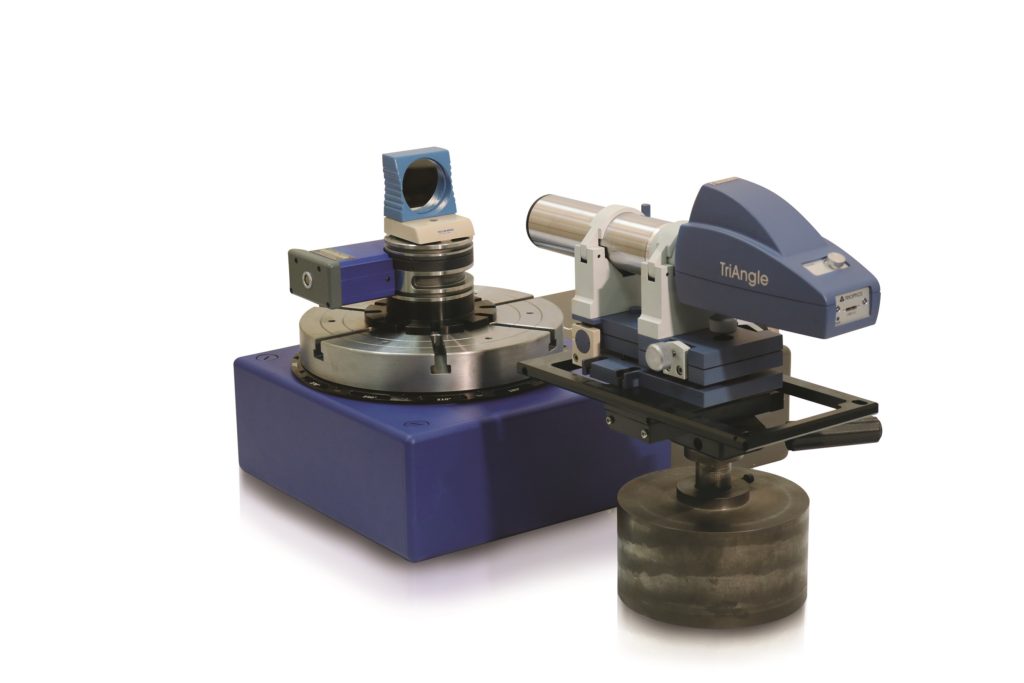
- Angular Calibration:
- Polygons
- Optics
- Tilt Meters
- Resolvers
- Gyroscopes
- Guidance Systems
- Encoders
- Indexers
- Inclinometers
- Interferometers
- Circular Geometry Inspection:
- Roundness
- Concentricity
- Coning
- Axial Runout
- Radial Runout
- Parallelism
- Precision Jig Grinding
- Precision Jig Boring
- Angular positioning
- Precision Axis Positioning
Technical Specifications
- Centre Line Height (mm): 230
- Load capacity (kg): 1000
- Max polar inertia (Kgm^2): 40
- Max Tilt Moment (Nm): 500
- Max rpm: 4
- Spindle rotation error (mm): 0.0005
- Parallelism (mm): 0.0006
- Angular positioning accuracy (Arc seconds): 1
- Angular repeatability (Arc seconds): +/-0.5
- Resolution (Arc seconds): 0.2
- Clamp shift (where fitted) (Arc seconds): 2
- Radial runout of table axis (mm): 0.0005
- Axial runout of table axis (mm): 0.0006
- Coning of table axis (Arc seconds): +/-0.5
- Concentricity of centre bore (mm): 0.0025
- Squareness of spindle face (mm): 0.004
- Table weight (without top or clamping) (kg): 84
(Note - Specifications vary depending upon options specified. Please view product PDF for more detailed technical data)
