Paint and adhesive application are a critical processes for a wide range of parts. These could be automotive components, subcomponents in complex assemblies, and the joining of parts where traditional fasteners cannot be used, to name but a few.
In these situations, poor adhesion can cause serious problems. Paint may peel, crack or bubble off surfaces. If an adhesive doesn’t stick two parts together correctly, the entire structure could be in danger of premature failure.
These situations can be both costly and extremely inconvenient when they occur in the field, so resolving them is crucial. The CleanoSpector is designed to do this quickly and easily.
What the CleanoSpector Does
The CleanoSpector is a handheld measurement system that reports measurements to help determine how clean and well prepared a surface is prior to the application of paint or sealant. By determining this condition, it helps ensure longevity of paint and adhesives: If a part hasn’t had suitable surface preparation and is identified in advance, the issue can be resolved.
How the CleanoSpector Works
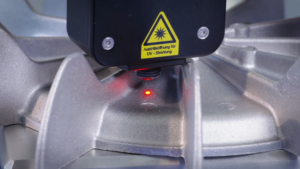
The CleanoSpector uses a spot of concentrated ultraviolet (UV) light that is projected onto the surface of the part. As this light is reflected back into the unit’s sensor, its intensity is measured. The resultant change in intensity between good and bad parts indicates the condition of the surface. The value reported is as a measurement unit referred to as “RFV” (Relative Fluorescence Value).

As the “R” in “RFV” indicates, this is a relative value. That is, the nature of any go/nogo condition is dictated in relative terms to the parts measured and the conditions confronted. Because there are a huge number of variables to consider when checking surface condition, this is an advantageous strategy for conducting checks. Typically, upon installation a benchmark is determined by using known clean and non-clean parts. This then helps operators by enabling them to know what values are acceptable and these values can be implemented into a Quality Control process.
The benefits of CleanoSpector
The CleanoSpector is an extremely popular product in checking surface condition for a number of reasons, including:
Fast to use and implement
Not only does measurement data get collected quickly (within a matter of seconds), but implementation is extremely quick, too. Training can be conducted in a matter of minutes, and results can start being collected from the moment an instrument is installed. That means making it part of your process is much quicker than using more complex checking methods.
It can be used virtually anywhere in a facility
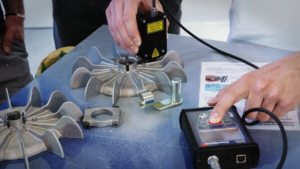
CleanoSpector is designed to be used anywhere on the shop floor, not just in a clean environment or standards laboratory. That means it can be used in-situ where parts are being made or assembled, reducing inspection time.
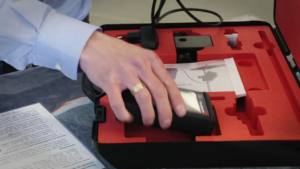
It’s also lightweight and comes complete with a robust carry case. This allows you to move it to multiple locations within a facility, or even between facilities easily in order to conduct checks at different stages of a process. This is especially useful if you are trying to identify sources of contamination that are as yet undetermined.

Enables reduction in waste and lost parts
CleanoSpector is non-destructive and is typically used to check parts prior to the application of paint, adhesive or other coatings. That means that problems can be detected prior to application, ensuring that parts are not scrapped unnecessarily, and that no parts are lost in the testing process.

Quantifiable and objective
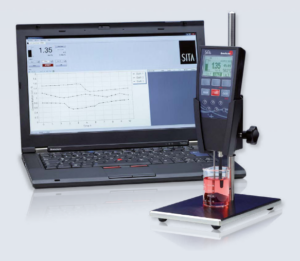
As already mentioned, CleanoSpector returns an “RFV” reading that indicates the surface condition of a part. This means that part cleanliness data can be output into reports using a USB connection and the optional ProcessLog software. Because the measurement process is simple and repeatable, it also means that an objective result can be recorded for any part, irrespective of operator. That means data is reliable and it can be used to determine trends over multiple shifts and multiple work areas.

Conclusion
If you are painting or gluing parts, surface preparation and condition is critical to ensure correct performance of a part. It is especially important to understand sources of contamination and to eliminate them, and to do this prior to application of either paint of adhesive. CleanoSpector offers a uniquely user friendly, quick, and definitive method for doing this.
CleanoSpector is used widely for in facility checks in a diverse range of areas. We can show you how it can benefit your processes and increase your product quality dramatically. Contact us and we’ll be happy to demonstrate its performance on your parts.
