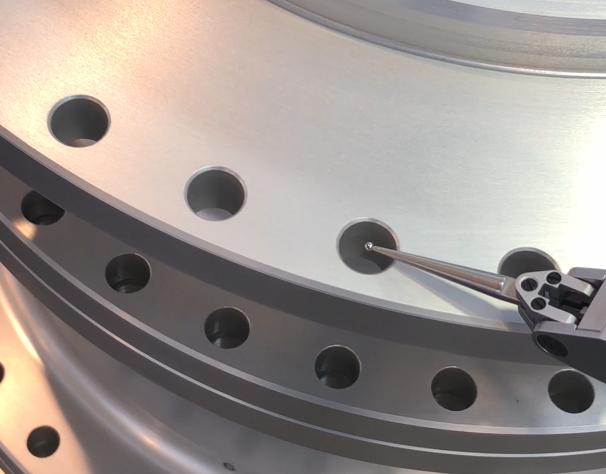
Interrupted surfaces on circular components such as surfaces with hole patterns or irregular features can be challenging to measure. They commonly exist on turbine components as well as other components like casings and housings.
On some measurement equipment, hardware can behave erratically or even not function at all. In other cases it’s the software that struggles to interpret the data.
Here's the solution to interrupted surfaces
Luckily measuring these surfaces is easy with iMAP and GeoSpin. They both use AccuScan technology to measure. That means when you setup a part for measurement, just a few clicks are required to instruct the system that the surface is interrupted with a hole pattern or other feature.

Save the configuration forever
Once that’s done, the configuration can be saved forever. That means each time the surface is measured on future parts, it reports the geometry features you are expecting, quickly, accurately, and easily.
This short video shows just how easy this process is. You can also watch the video on YouTube here.
iMAP and GeoSpin are the world leading turbine circular geometry measurement systems, offering quick and extremely accurate results on the shop floor. To find out more about them, head on over to the products page and read on.
If you’ve got any questions about circular geometry inspection, feel free to contact us. We’d love to hear from you!
