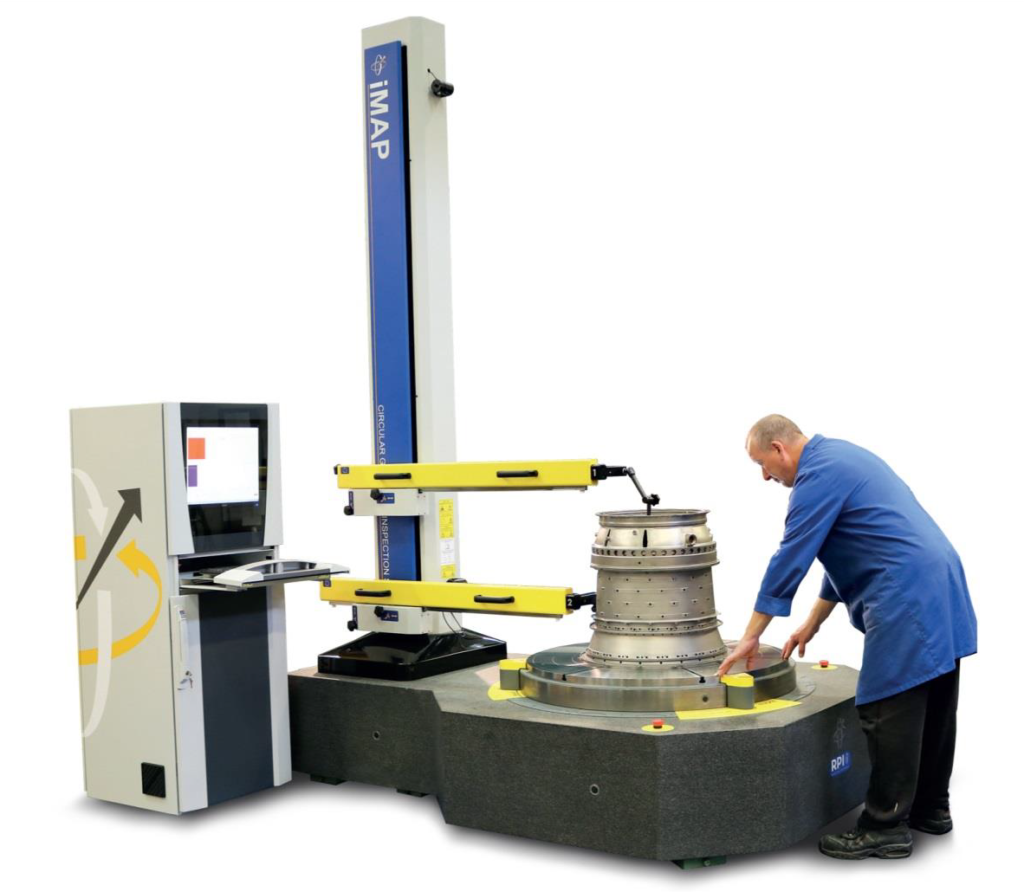
The better the inspection, the better the part
Round and rotating parts and assemblies can be complex to make and complex to check.
This is especially the case when dealing with rotors, turbine components and parts with tight tolerances, resulting in problems like:
- Difficulty maintaining accuracy and repeatability when inspecting large parts
- Bottlenecks or inspection slowdowns because the existing process is slow or must be conducted offline
- A lack of quantifiable data to enable confidence in any Quality based decisions
- Minimal traceability and reporting, or a system that means it is hard to share results with partners and colleagues
There is a better way!
All or any of these can understandably result in a lack of confidence that your existing system is suitable for your quality requirements.
The circular geometry range allows you to measure features such as runout, roundness, eccentricity, circular flatness, and parallelism quickly, accurately, and easily on the shop floor.
With a range of machines and options available, components of less than a pound all the way up to loads of over 75,000lbs can be measured.
Not sure which system is most suited to your parts? Check out this blog article for some guidance: https://wyvernamerica.com/choose-circular-geometry/
Benefits of the circular geometry range
90% faster than manual techniques
Inspecting turbine components and other circular and rotating components accurately can be time consuming. Inspection delays can cause bottlenecks, which can slow down the entire process.
iMAP, GepSpin and GeoInspec can quickly and accurately measure on the shop floor. And when they do, they can perform that task 90% faster than traditional techniques.
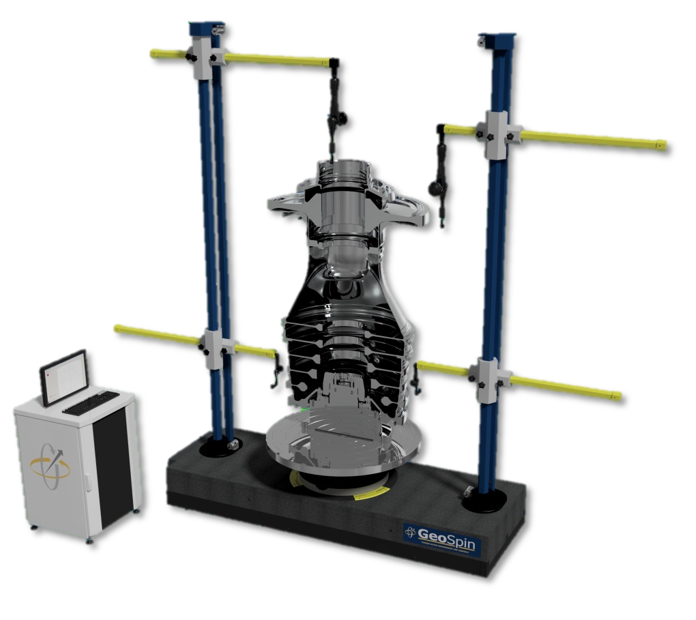
10x more accurate than traditional techniques
Our rotational products have a reputation for exceptional accuracy, and the circular geometry range is no exception. Independent Gage R&R studies have shown up to 10-fold improvements in gage repeatability and reproducibility studies.
This step change in measurement performance can help transform product quality and add confidence that assembly has been conducted to the best possible standards.
Shop Floor Ready
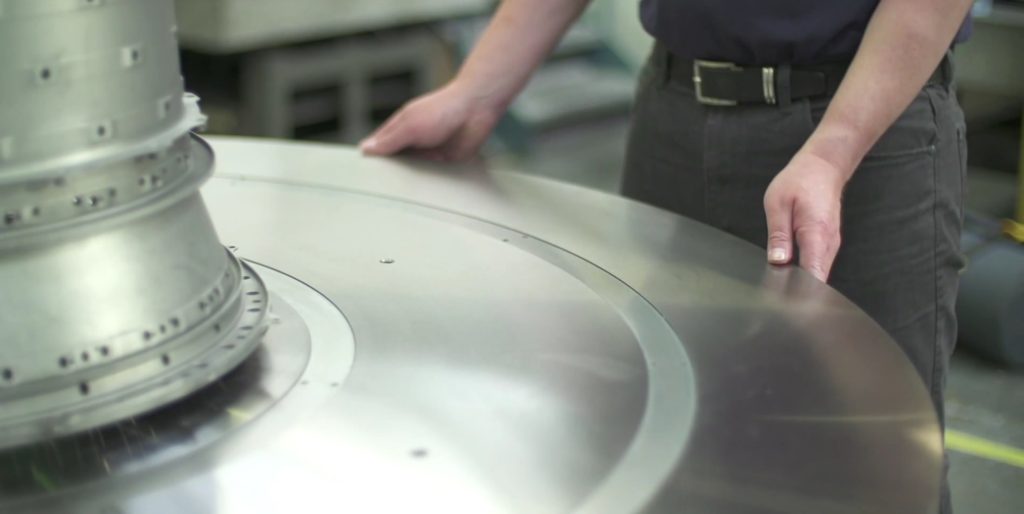
Unlike some measurement techniques, the circular geometry range is designed to operate on the shop floor without loss of performance. That means no expensive temperature-controlled environment is necessary, and nor is any additional specialist equipment or operators.
More importantly, by inspecting directly on the shop floor there’s no need to take a part to a dedicated area away from the shop floor for inspection. Inspection can be performed in-situ, offering significant time and money savings.
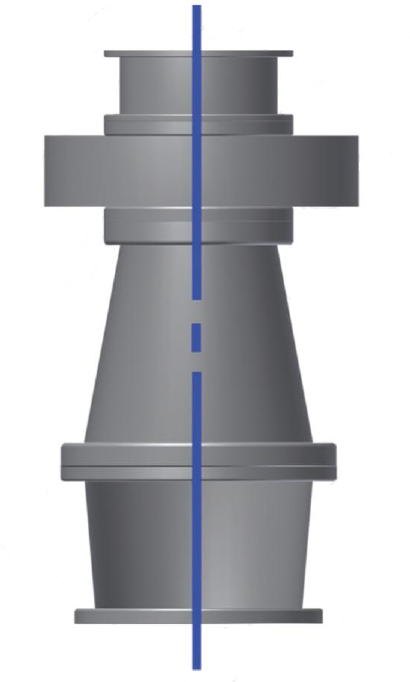
Theoretical Rotor Assembly
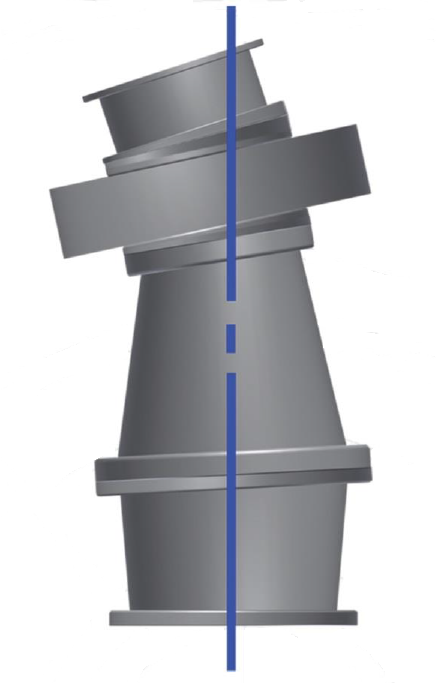
Uncorrected Rotor Assembly
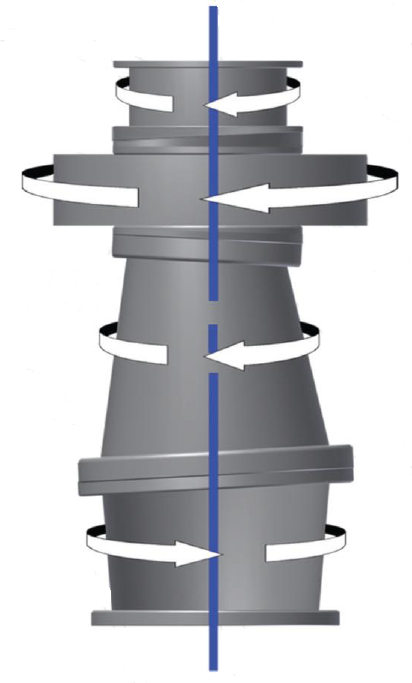
Optimized Rotor Assembly
Predictive stacking with Intellistack
If you want to take your inspection intelligence even further, the optional Intellistack module in iMAP and GepSpin can help you. Intellistack can dynamically analyze your measurement data and advise you of the best assembly technique for improvement of balance.
For example, it will tell you if parts are not optimally aligned, and even tell you by how many bolt holes you should rotate a component to maximize balance.
That means you can be sure of optimum performance at assembly time, removing the need for trial and error and eliminating any need for unnecessary tear downs.
Multiple Measurement Capabilities
You can measure multiple characteristics at once with the circular geometry range. In fact, iMAP supports measurements of up to 8 surfaces at once. Beyond this, measurement programs can be setup to feature as many surfaces as you wish, making measurement capacity unlimited.
Of course, all these measurements can also be recorded in real time, meaning that the measurement data remains permanently for traceability and reference purposes.
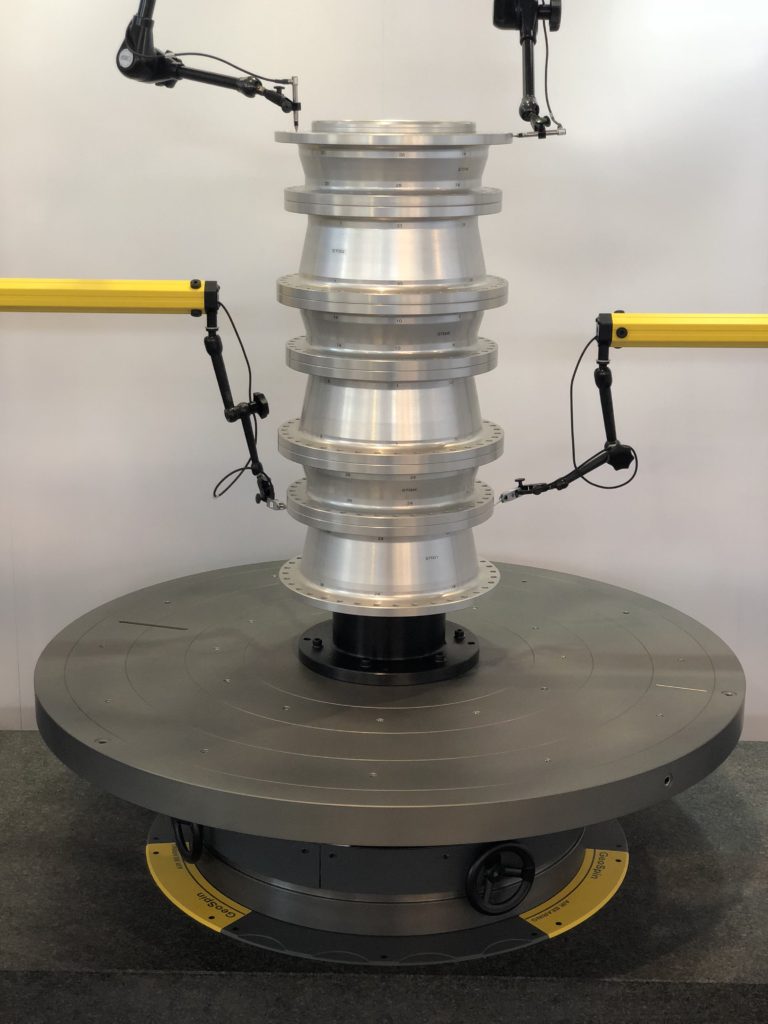
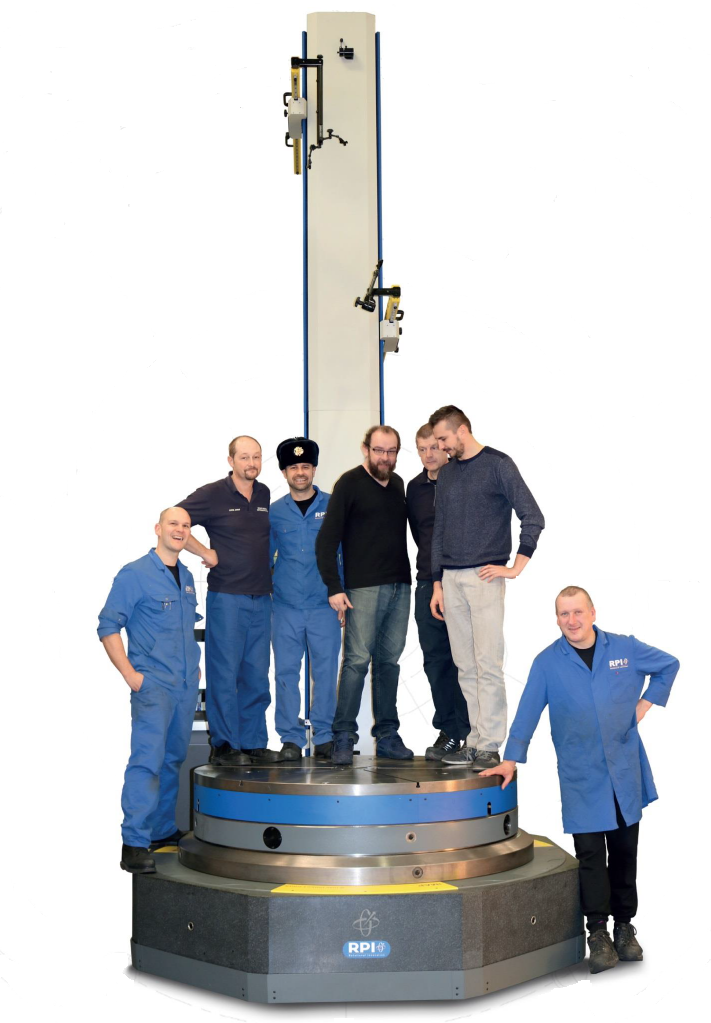
High Load Capacity
From small parts to large parts, we have system options that suit your needs. In fact, standard configurations support parts of up to 6 meters (235”) tall, with load capacities of up to 35,000kg (77,000lbs).
Used by major OEMs globally
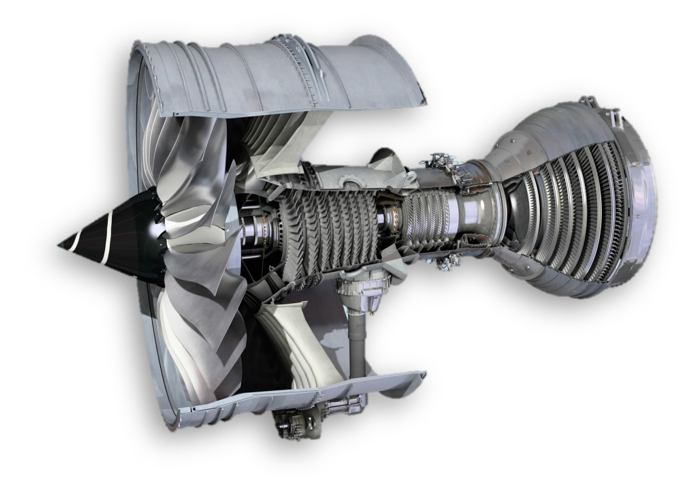
The exceptional performance of the circular geometry range is well regarded across the world. In fact, it is an accepted standard in many major OEMs globally.
That means you can be sure of a product that is well regarded, and well suited, to performing inspections in the most demanding of environments.
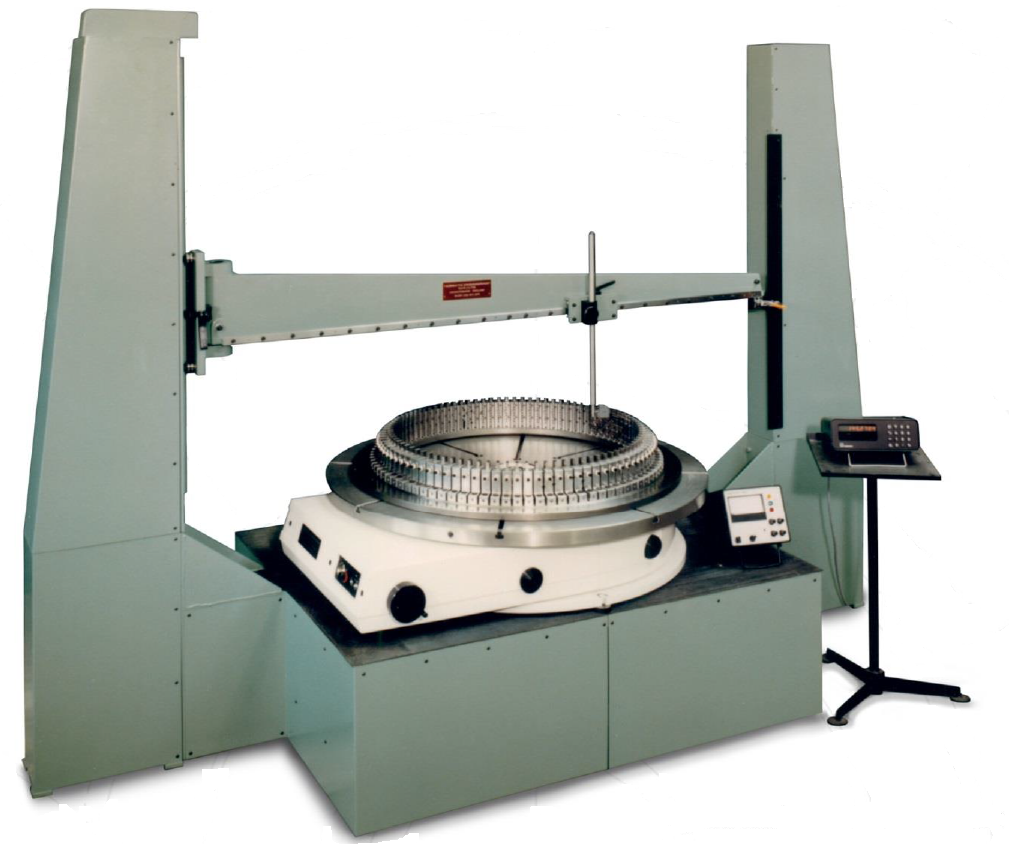
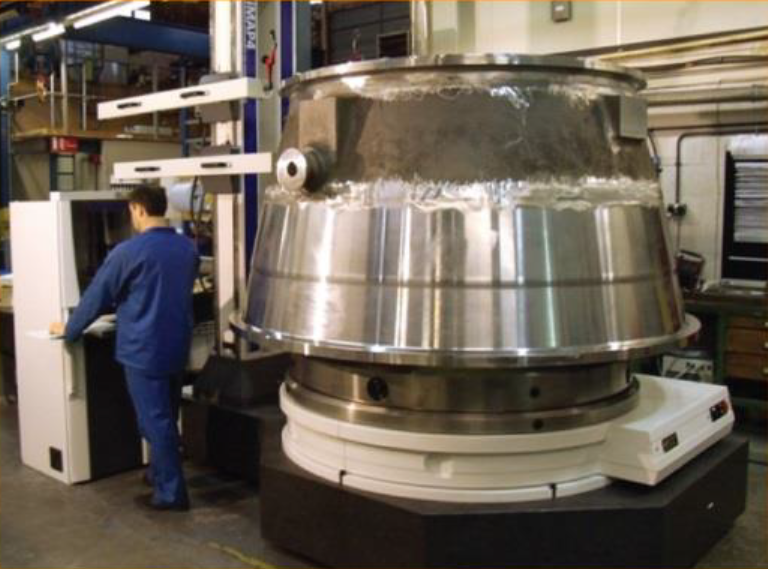
A first generation iMAP machine from the early 80s, which had a load capacity of 2,500kg. Today, iMAP machines have a load capacity greater than 10 times this amount.
Unquestionable Heritage
With over 70 years' of innovation in developing and manufacturing rotary products, no company in the world has the experience of RPI.
We developed the first iMAP systems nearly 40 years ago, and we've been building variations of them ever since.
Since then, we've improved performance, capacities and design features continually, but the heritage and expertize remain unchanged.
To find out more about the circular geometry range, choose one of the products listed below.
Unfamiliar with any of the terms used in the product descriptions? Refer to our handy glossary for help!
Want to know more?
We're always happy to discuss your requirements, potential applications and talk through concepts to help improve productivity and quality
