When it comes to inspecting round parts, there’s often a lot of confusion about what kind of system is most suited to performing the task. This can vary a lot, because circular geometry is such an expansive area. This article will help as a starting point as to which kind of system is most suitable based upon the part type itself. From there, it will become much easier to determine a strategy based upon the nature of the inspection that needs to be conducted.
The Circular Geometry range offers world leading performance for inspecting round parts. From small to large, there’s a system to offer high levels of precision whilst performing checks on the shop floor.

If you’re not sure which system is suited to you, this guide will help you decide based upon the size of part you have.
Remember, the size of the part is not always the only consideration. Other things to consider when deciding on the best system include:
- The type of features you need to quantify (for example, TIR, roundness, concentricity, form, and so on)
- What kind of data outputting is important to your process
- Whether you will want to have additional features (such as motorized drive, for example)
- Potential future plans of other parts you might need to inspect.
Of course, because the whole range offers the same ability to measure extremely precisely on the shop floor, meaning that the days of inspection bottlenecks are gone.
Below covers the different options to select based on your part size:
Turned, Machined or Formed Parts Under 8” diameter
Choose: TruMotion

TruMotion is ideal for this kind of part. With a table diameter of 200mm, parts will fit readily onto it, and unless your part is particularly heavy for its size, load won’t be an issue, either.
If your part is larger than 8” it could still potentially fit onto TruMotion, with some overhang. This will largely depend upon the design of the part: The part should be able to fit easily onto the table surface (so larger parts with no material in the middle wouldn’t be suitable for instance) and as long as you can do this and still center the part, you’re good to go!
TruMotion offers a maximum load capacity of 110lbs, so even heavier small parts are easily suitable for it.
Medium Sized Gears, Bearings, Drivetrain and Turbine subcomponents over 8” diameter/110lbs weight
Choose: GeoInspec

For larger parts, GeoInspec is an ideal choice. Not only does it have a large maximum payload (the largest units can take up to 8,000lbs) but it also comes with a wide range of options. That means not only can you choose a size that’s suitable for your needs, you can also choose how its footprint will look (you can mount it on your own work surface or have it supplied with a bespoke granite base) and decide what kind of inspection it will perform. This could range from simple TIR inspection all the way up to full circular geometry checks with the features of its bigger brethren, GeoSpin and iMAP.
Larger Turbine Components or Small Rotors
Choose: GeoSpin

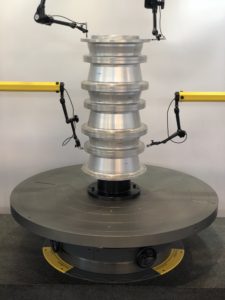
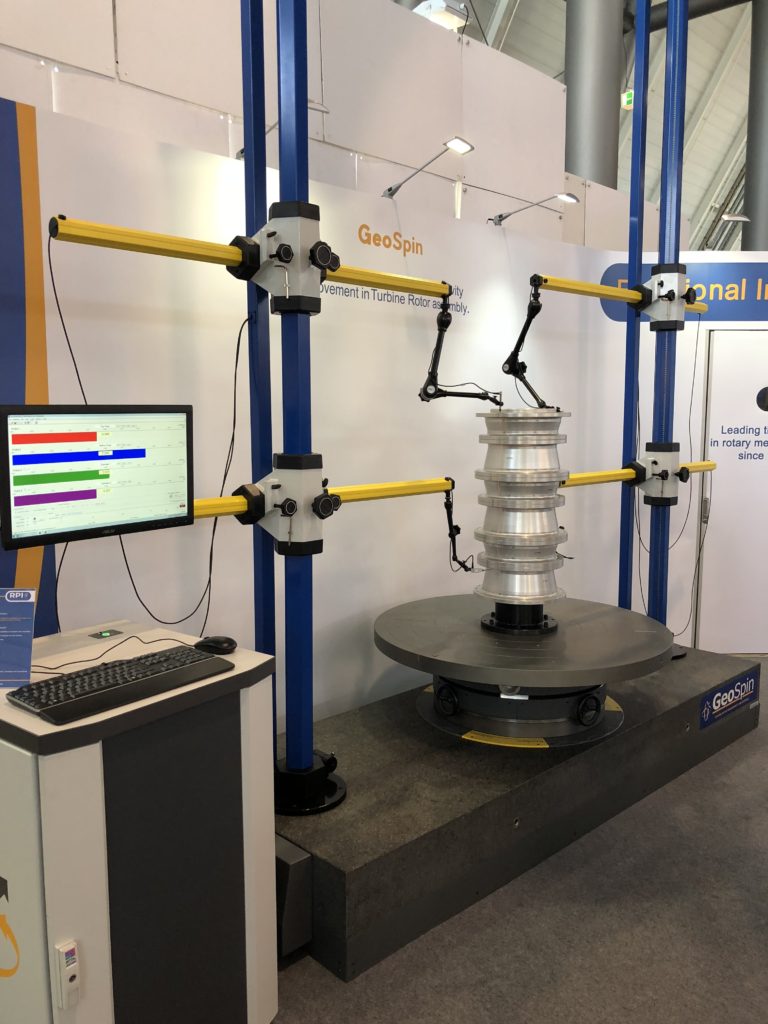
If you’re measuring turbine components or smaller rotors up to 3,300lbs and want to perform detailed circular geometry checks, GeoSpin is your best option. Not only is GeoSpin a fully integrated solution, containing all you need to perform detailed circular geometry checks, it can also be customized to suit your needs. That includes a variety of diameters to suit differing part sizes, but also 2 or 4 channel options, and the ability to add optional intelligent stacking software, too.
Very large turbine components or larger rotors
Choose: iMAP

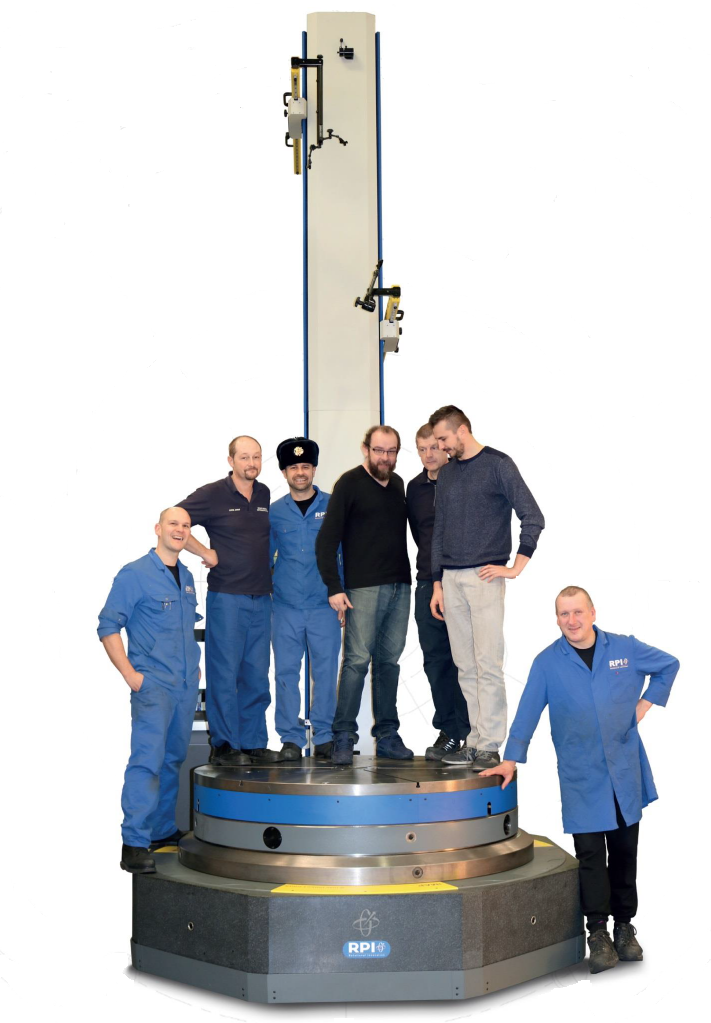
If you’re measuring large rotors and very large components, you should choose the daddy of them all, iMAP. iMAP is designed to measure even the largest parts, with table diameters of up to 1,600mm available (allowing parts of up to 2,200mm diameter to be inspected), offering load capacities of an amazing 31,000lb.
Like GeoSpin, iMAP allows you to perform detailed circular geometry checks out of the box. iMAP is also further configurable for your needs, so you can choose the number of measurement channels you need, as well as adding intelligent stacking and connectivity of multiple machines.
No matter what size your part is, if you need to perform circular geometry checks we have a system for you. If you’d like to discuss which option is best for you, contact us today. We’re always happy to cover things in more detail!
